Rich Media (RM)
Eskimi Rich Media Creatives guide
Uploading Rich Media (RM) Template Creatives - Manual
Rich media creatives is a banner type of creatives that includes advanced features like animations and other elements that encourage viewers to interact and engage with the content. This type of creatives can be created and uploaded manually using templates in Eskimi platform.
RM creatives uploading process:
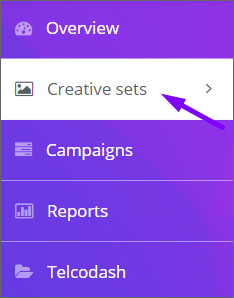
Step 1: Log in to your DSP account, go to Creative Sets
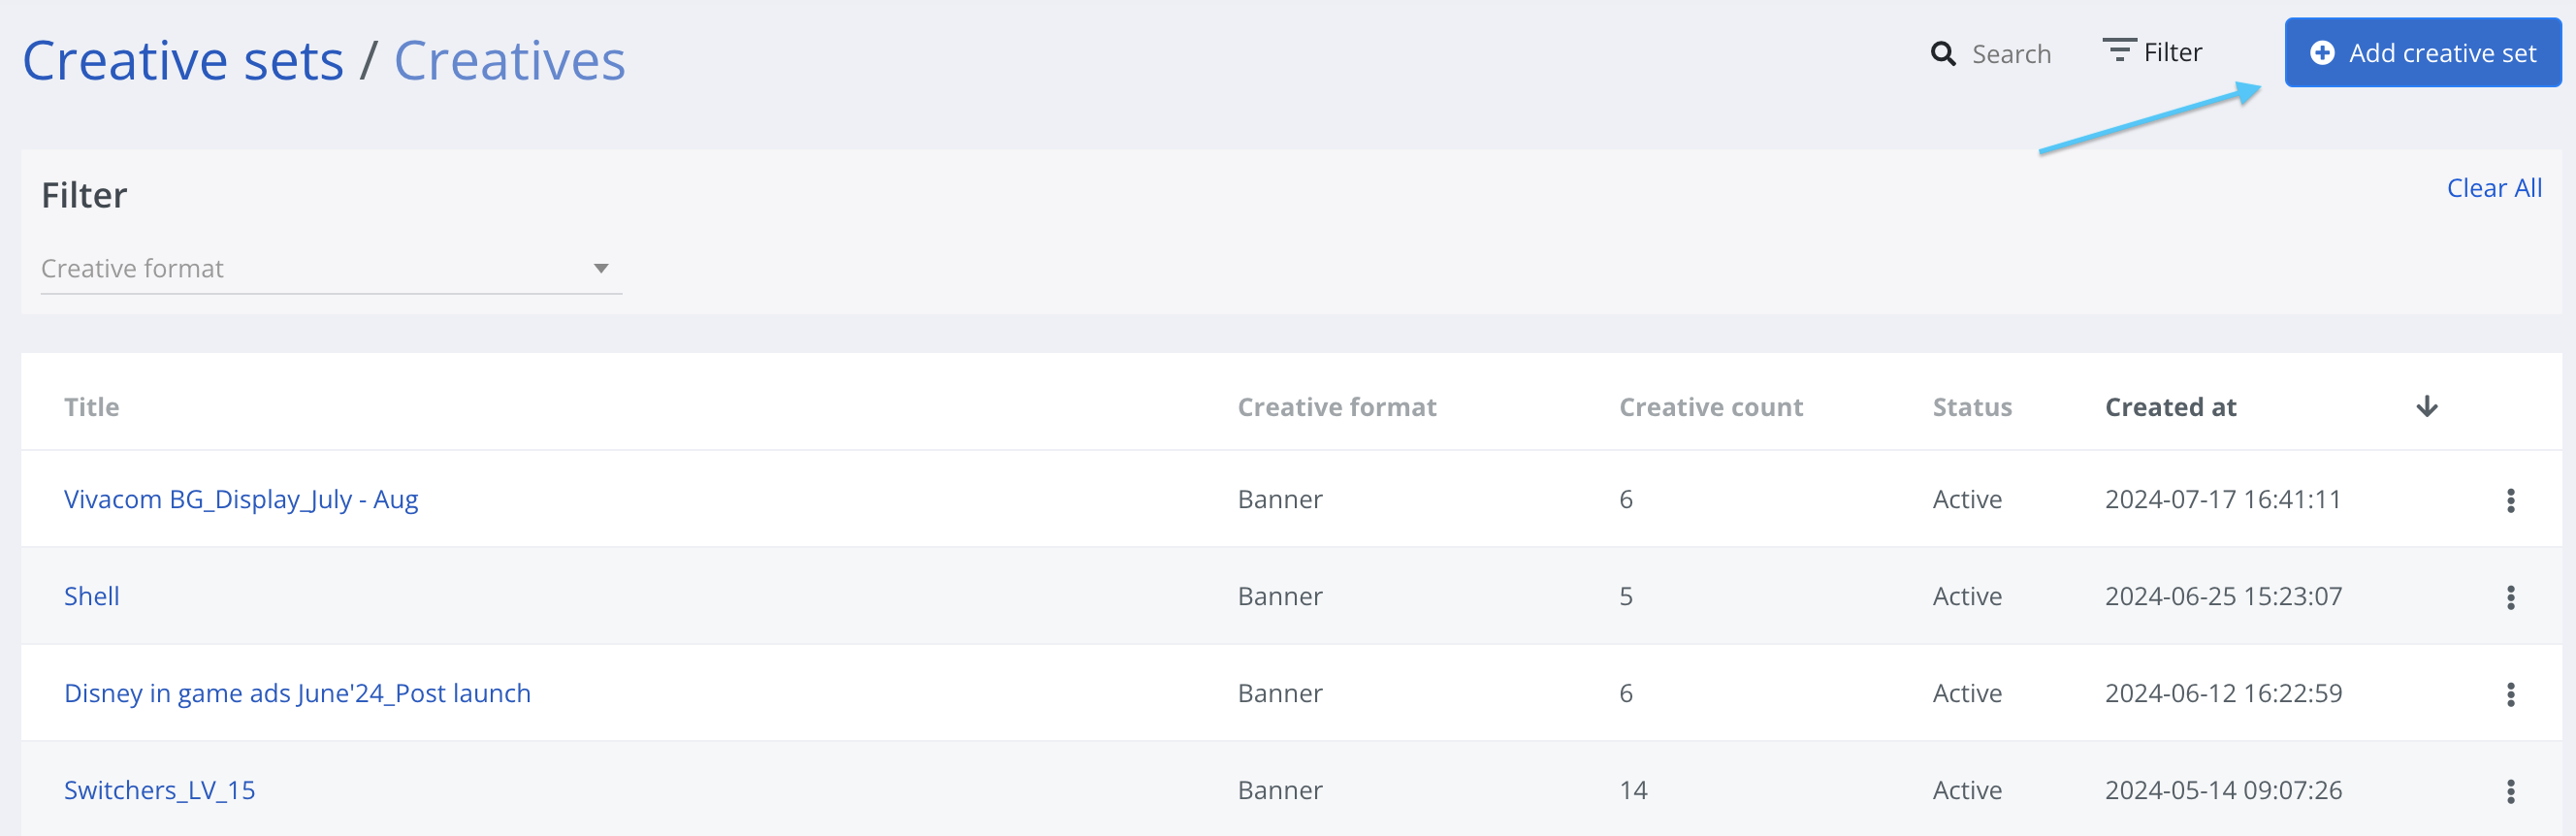
Step 2: On the new page click "Add creative set"
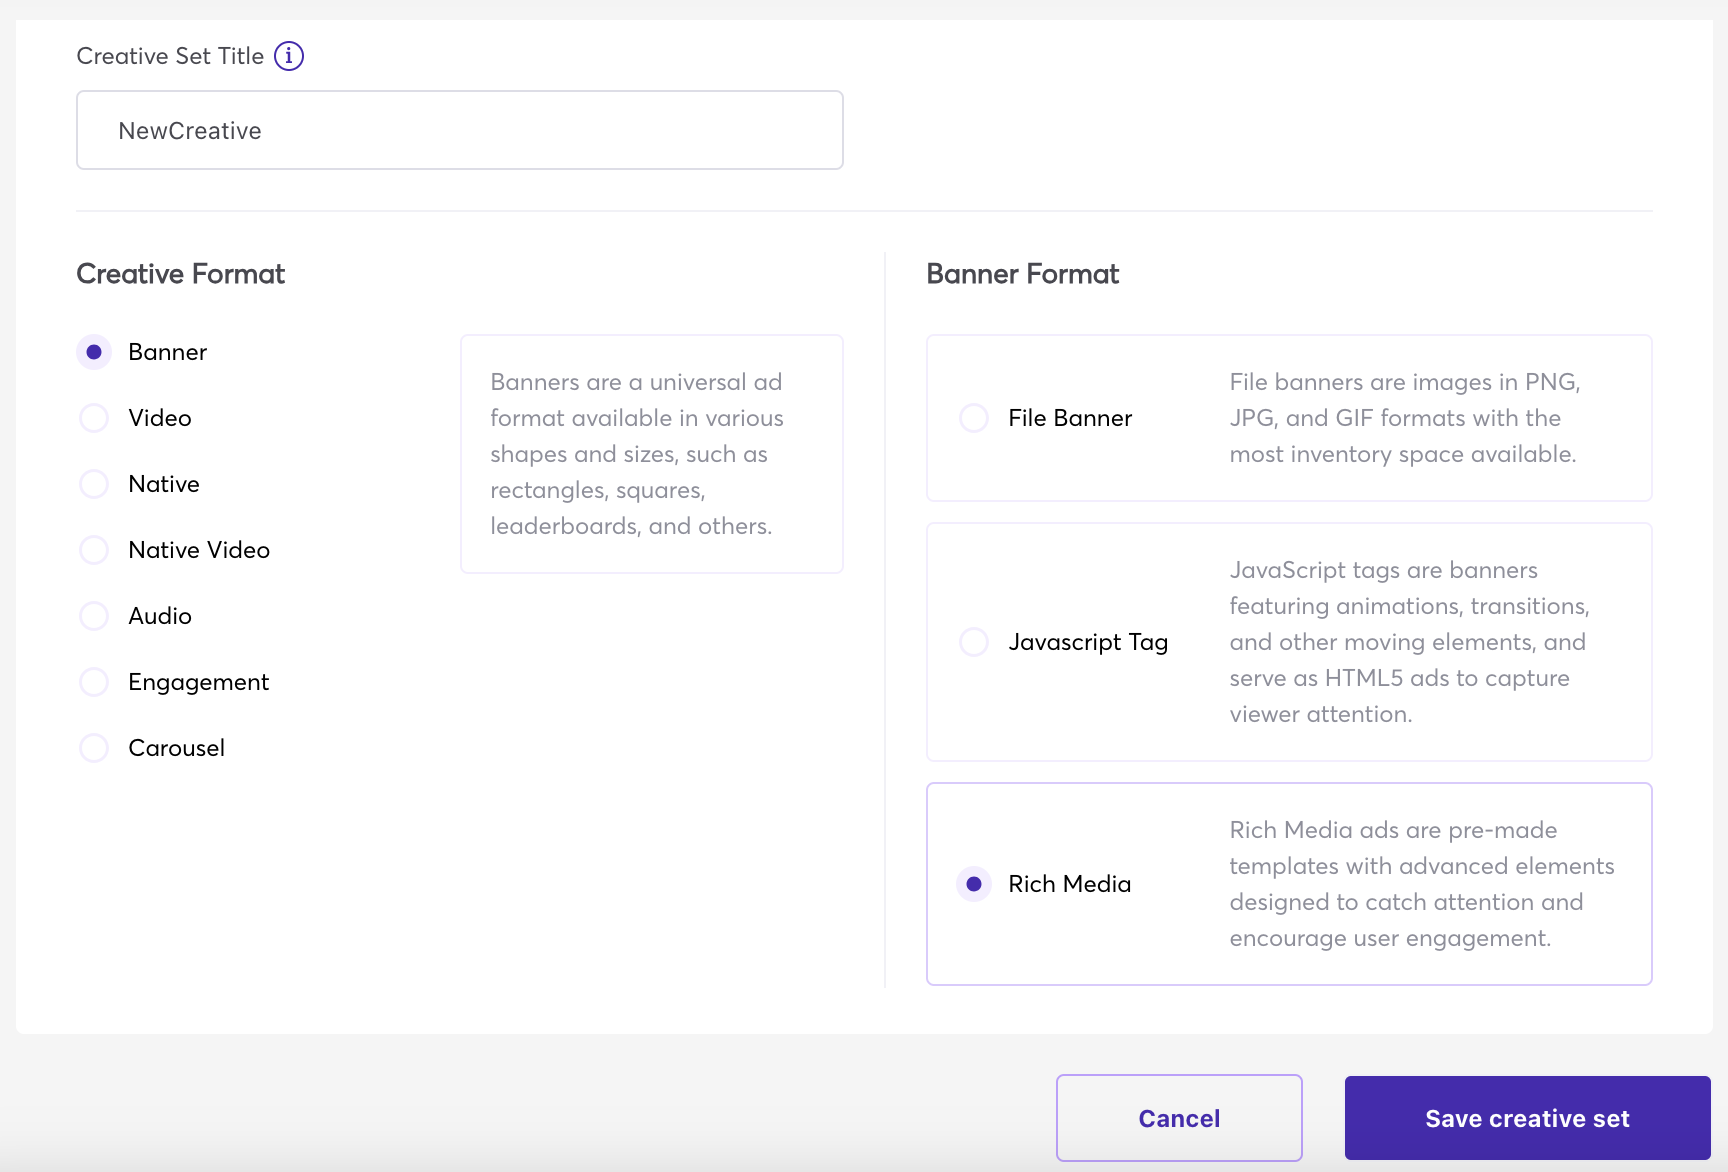
Step 3: On the next page add creative sets Title and select the Banner creative format and RichMedia as banner format.
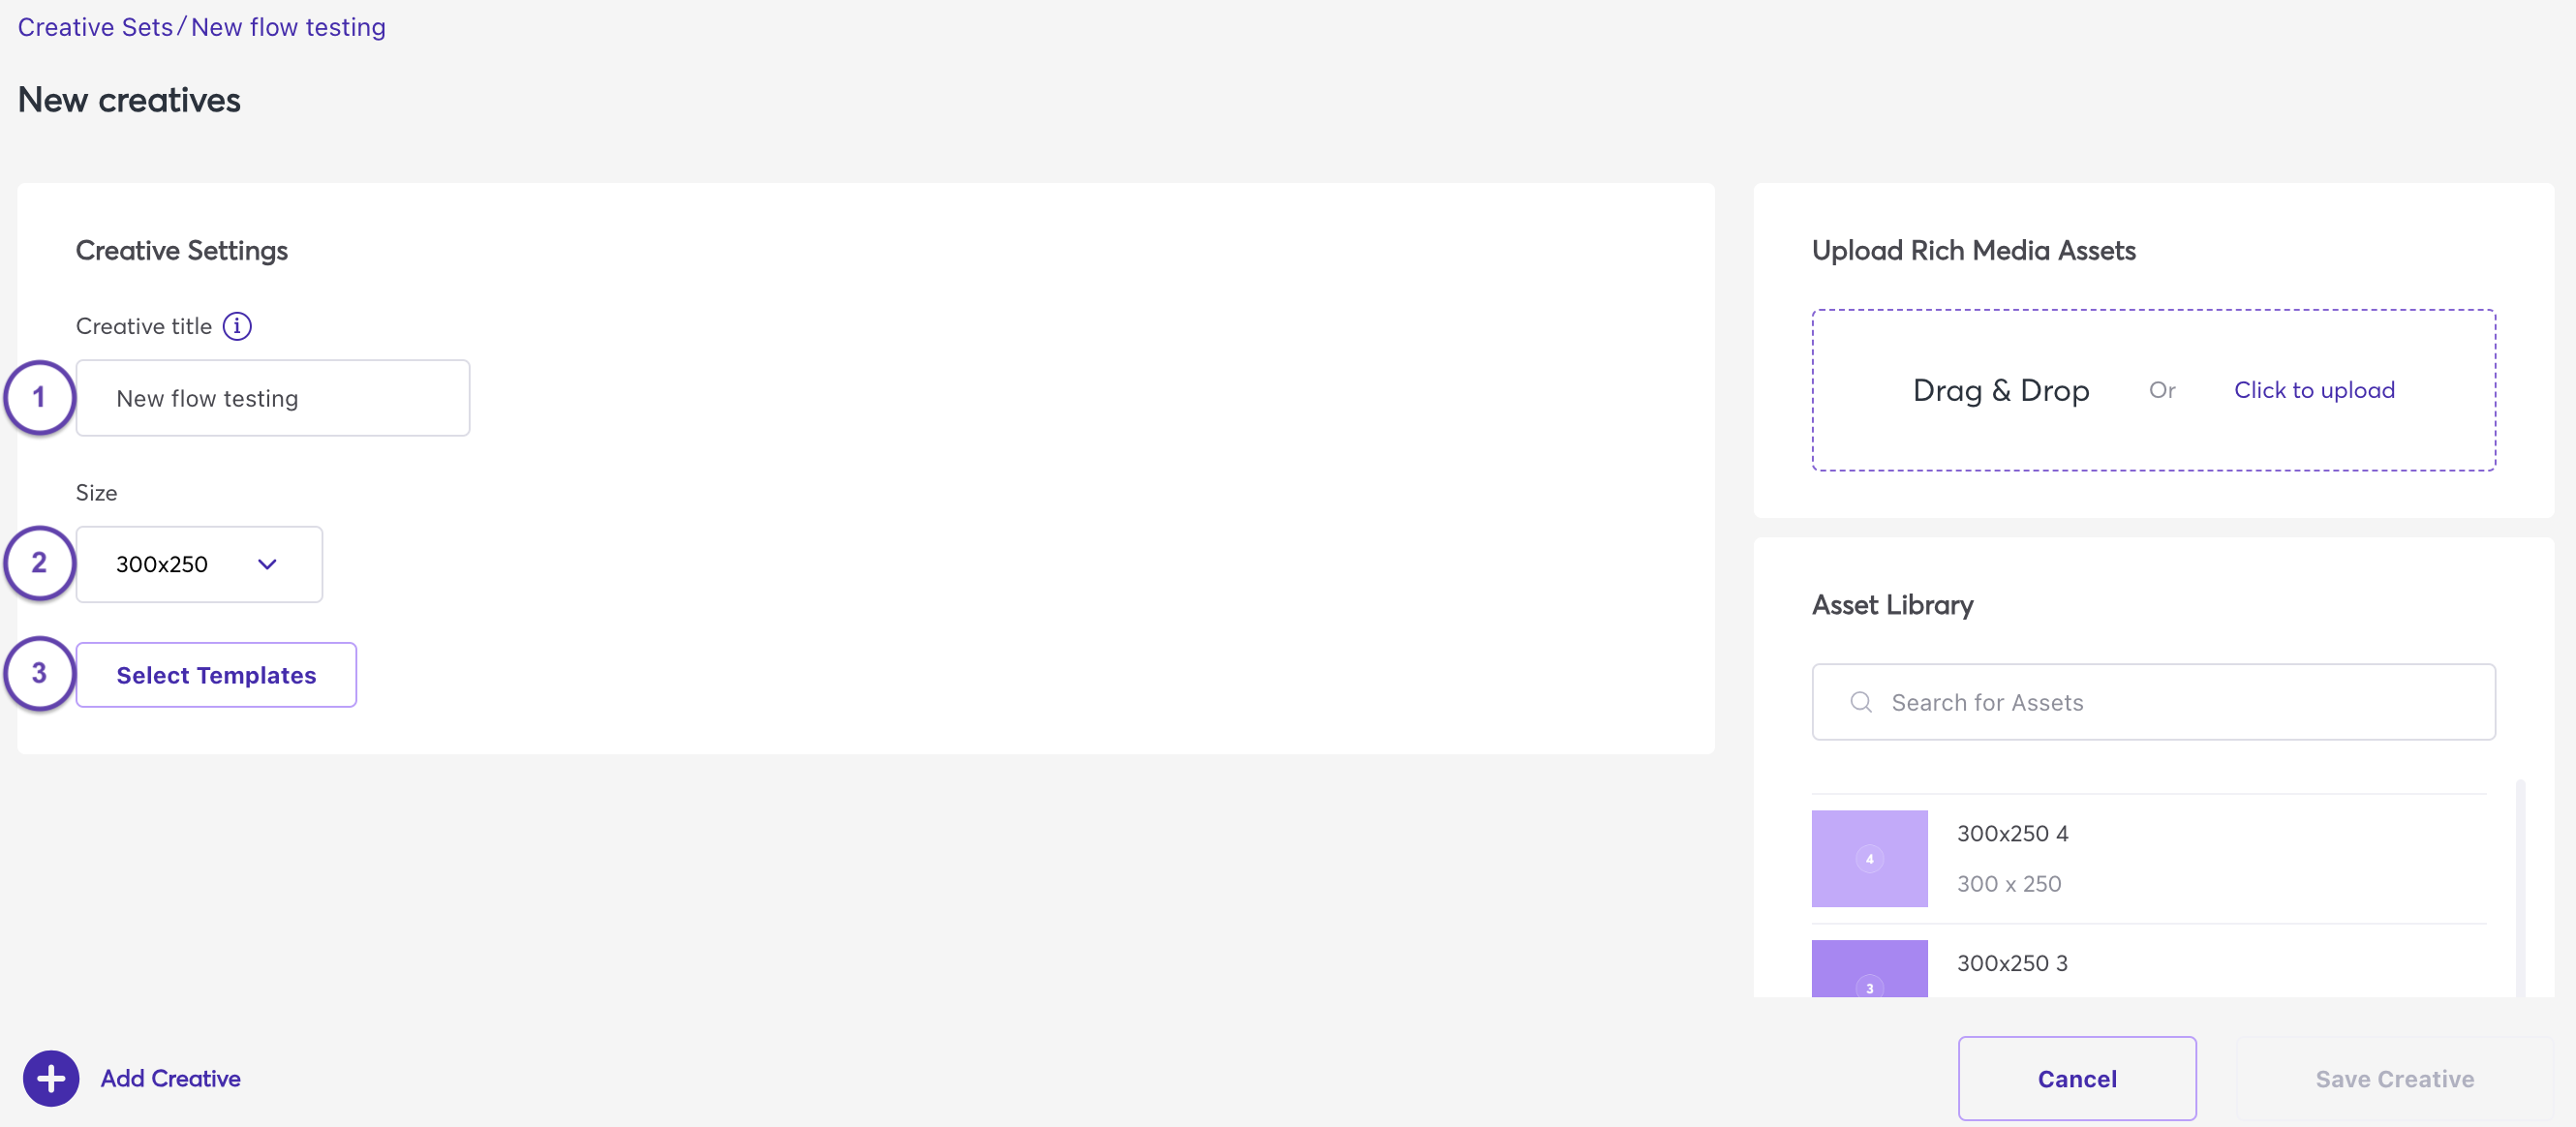
Step 4: You will be greeted with the creative creation page. Update the title (1), choose creative size (2), select templates (3) of the creative
Select from Templates gallery:

Step 5: Then choose the images you want to upload (1) and assign images by drag and drop (or double click) from Asset library (2).
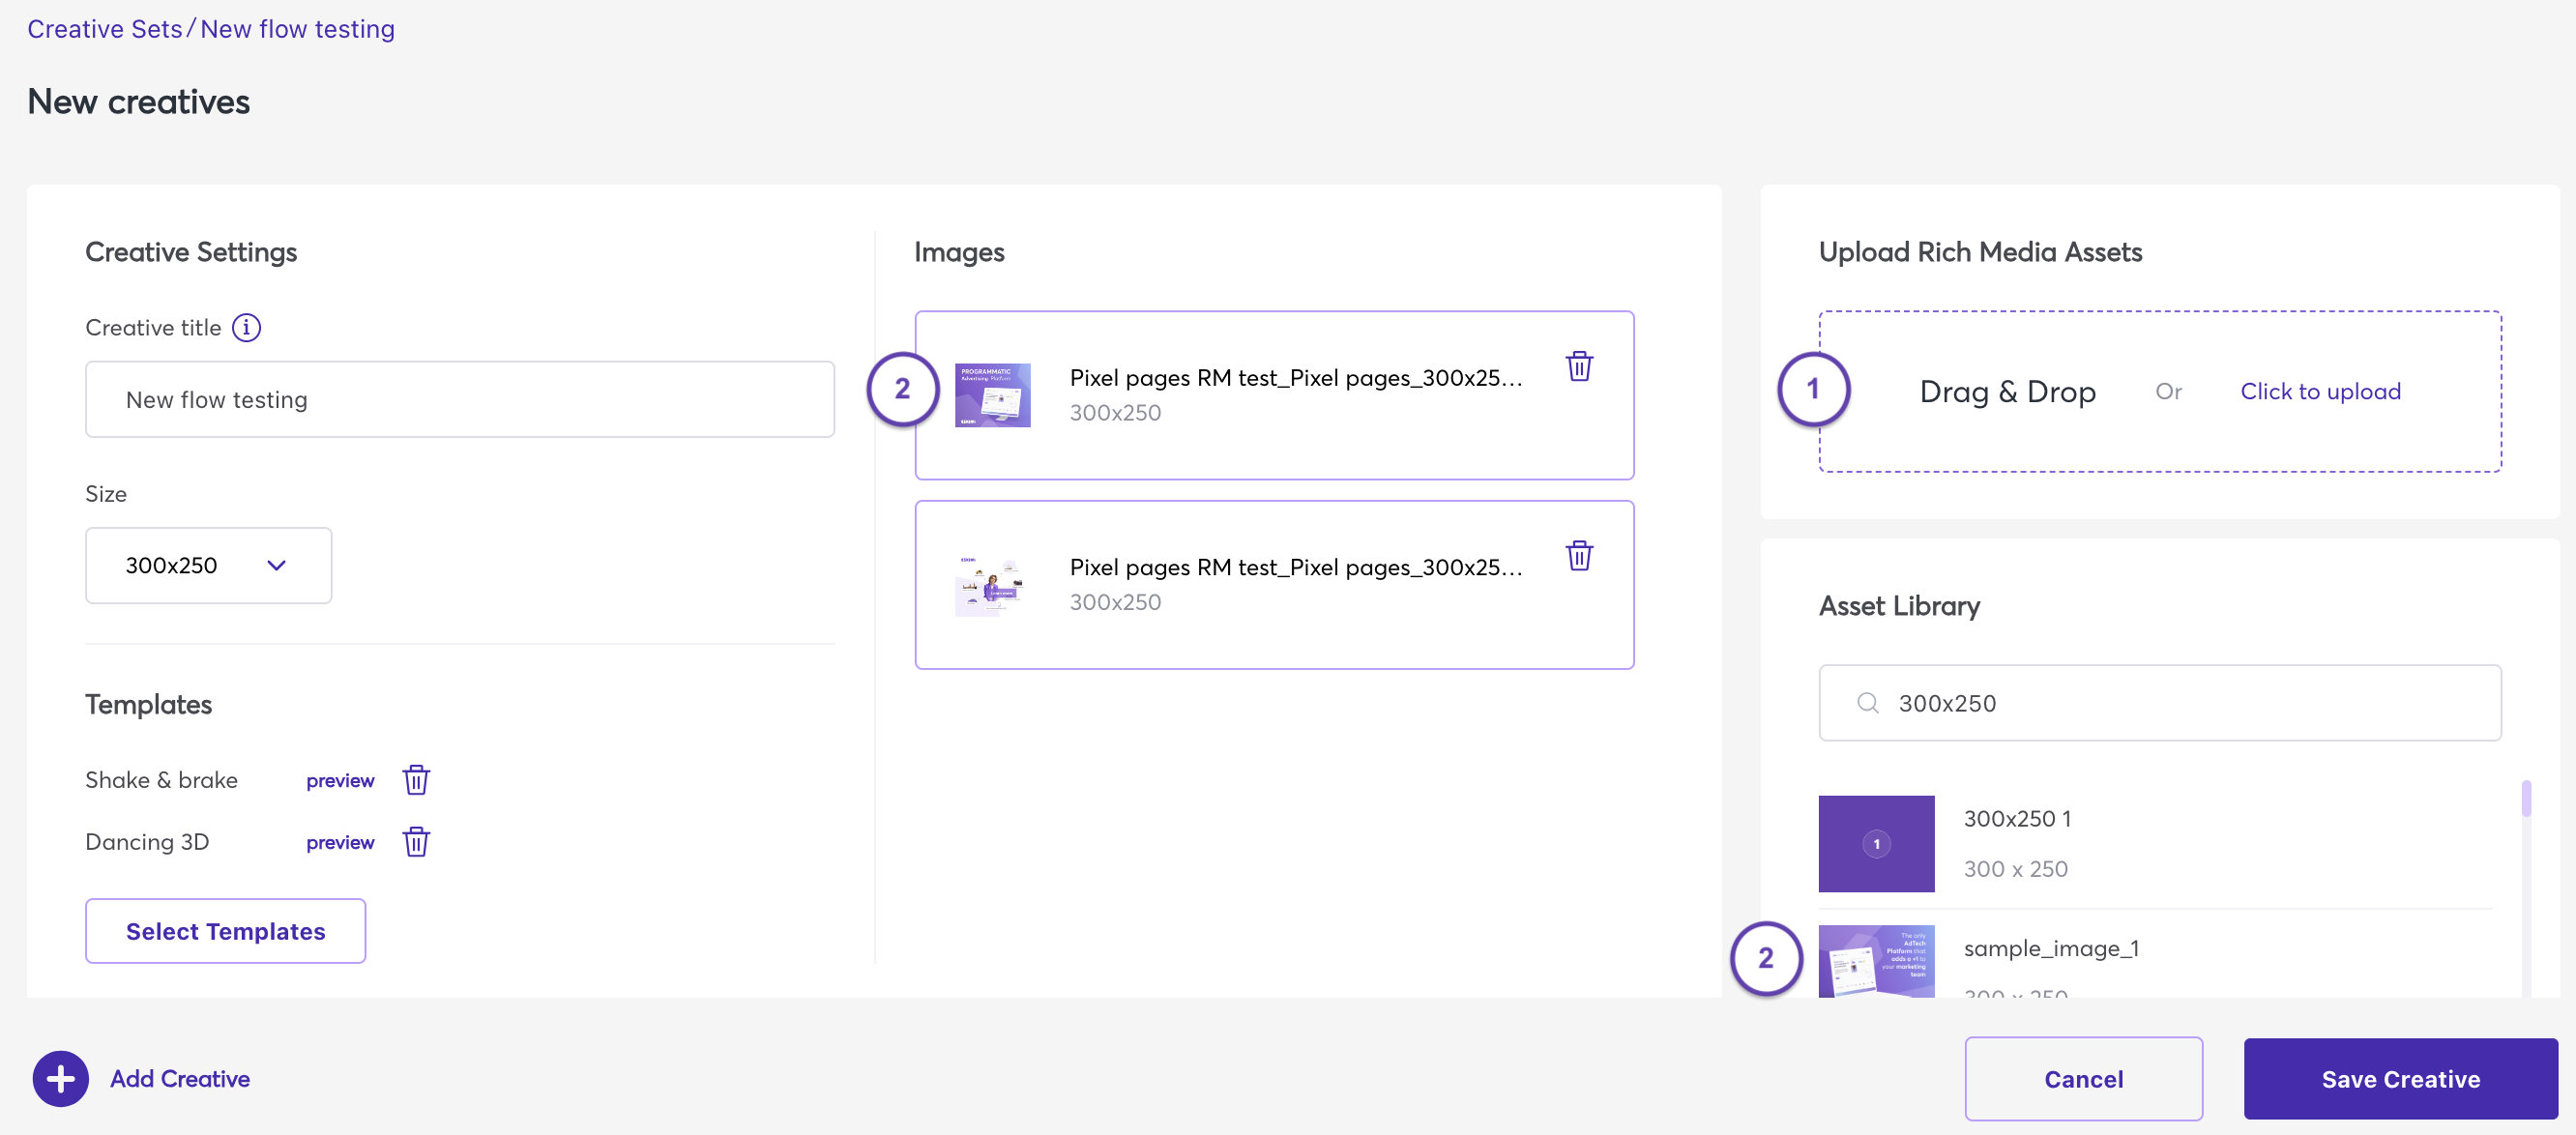
After that click "Save creative".
Creating 3D Banners: A Comprehensive Guide
In the realm of digital advertising, capturing the audience's attention is a paramount goal. One method that has gained immense popularity for its ability to captivate viewers is the use of 3D dancing and parallax banners. These innovative banners employ a layering technique to achieve a mesmerizing three-dimensional effect, check them here.
Understanding the Basics
Before we dive into the creation process, it's crucial to understand the fundamental components of 3D dancing and parallax banners. These banners consist of two primary layers:
1. Background Layer
The background layer serves as the canvas upon which your ad is displayed. It features a static image that serves as the backdrop for the entire advertisement. The background's role is to provide context and set the scene for the dynamic foreground element.
2. Foreground Layer
Positioned prominently in front of the background, the foreground layer contains the captivating, floating element that creates the dynamic effect in your banner. This dynamic element is what gives the illusion of depth and movement, making your ad truly stand out.
Creating 3D Dancing and Parallax Banners
(Recommended) Option 1: Two Separate Images
-
Create Two Distinct Images: In this approach, you will create two separate images of the same size – one designated for the background and the other for the foreground. These images should be compatible in terms of dimensions and resolution.
-
Background Image: Design or select a suitable background image that aligns with your ad's message. This image will serve as the static backdrop.
-
Foreground Image: Design or select the dynamic element that will create the 3D effect. Ensure that the foreground element has a transparent background to prevent it from obscuring elements behind it, such as the background.
-
Transparency Considerations: Be meticulous about ensuring that the transparency of the foreground element is maintained to avoid obstructing the background entirely. This transparency is what will create the parallax effect.
Option 2: PSD File with Separate Layers
-
Start .with psd file : Begin by creating or opening a .psd file. This file should be structured with distinct layers for both the background and foreground elements.
-
Design the Background: On the background layer, design or import the static image that forms the foundation of your banner. Ensure it complements the theme and message of your advertisement.
-
Craft the Foreground: On the foreground layer, design or insert the dynamic element that will give your banner its 3D effect. This could be a product, character, or any element that aligns with your advertising goals.
-
Layer Manipulation: Use Photoshop's layer manipulation tools to adjust the position, size, and orientation of the foreground element to achieve the desired 3D effect.
-
Export with Flexibility: The advantage of this method is flexibility. You can export the background and foreground layers as separate images. This flexibility allows for easy adjustments and optimizations in various advertising platforms.
Uploading Parallax Banners in Eskimi DSP
In Eskimi DSP, you have access to a range of captivating 3D banner templates of various dimensions , including 3D dancing, Parallax, Parallax 3D Triangle, and Parallax 3D Cube. Incorporating these templates into your advertising campaigns is a straightforward process. Each template has specific requirements for frame sequences:
-
3D Dancing: This template requires 2 frames - 1st frame is the background image, 2nd frame is foreground image.
-
Parallax: For this template, you'll need 4 frames - 1st frame is the foreground image, 2nd is background, 3rd foreground, 4th background.
-
Parallax 3D Triangle: This requires 6 frames - sequence is the same as Parallax.
-
Parallax 3D Cube: This requires 8 frames - sequence is the same as Parallax.
To implement these templates in Eskimi DSP, navigate to the Creative sets. When uploading your creative assets, ensure you arrange them according to the specified frame sequence for your chosen template:
In Summary
In summary, 3D dancing and parallax banners are a powerful tool in the digital advertising arsenal. These banners combine a static background with a dynamic foreground element to create a captivating 3D effect that can engage and enthrall viewers. The key methods for creating these banners are through the use of a .psd file with separate layers or by working with two distinct images.
Whether you choose to utilize the flexibility of a .psd file or work with two separate images, careful attention to detail is essential. Ensure that the foreground element's transparency is maintained to avoid obstructing the background, thus achieving the desired parallax effect. With these techniques, you can create stunning 3D dancing and parallax banners that leave a lasting impression on your audience.