[Audience creation guides](https://manual.eskimi.com/books/audiences/chapter/audience-creation-guides)
**Step 10:** Set up Brand safety or leave default values in these options (optional). [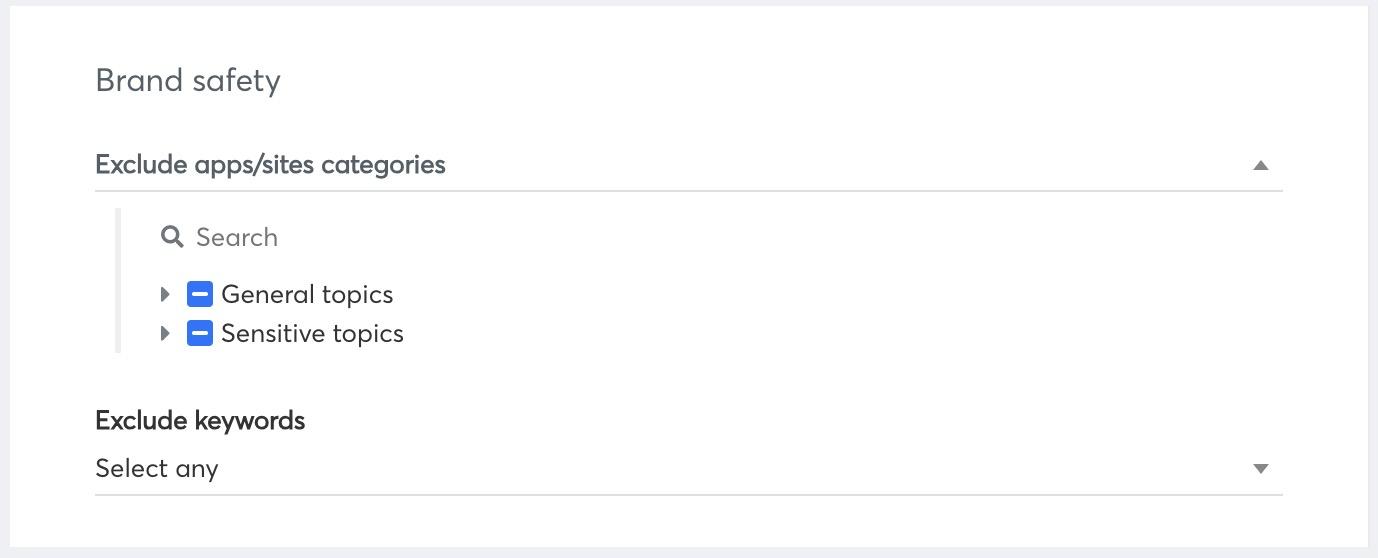](https://manual.eskimi.com/uploads/images/gallery/2025-06/yuFXLCTVaTFS8evQ-screenshot-2025-06-27-at-12-52-57.jpg) **Step 11:** Set up Contextual targeting (optional). [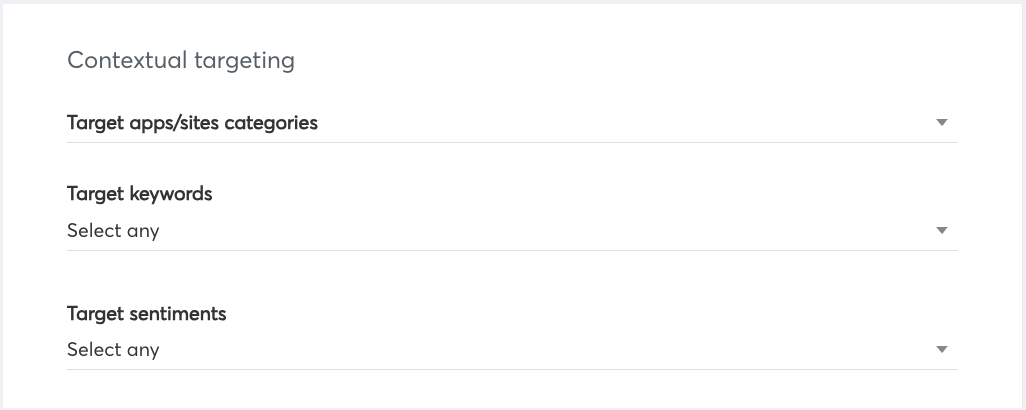](https://manual.eskimi.com/uploads/images/gallery/2025-09/oHzSMD8AIetwRbbk-screenshot-2025-09-15-at-14-10-05.png)[How to enable Contextual Targeting on a campaign level](https://manual.eskimi.com/books/contextual-targeting/page/how-to-enable-contextual-targeting-on-a-campaign-level)
**Step 12:** Here you can target users by mobile operators, device types, browsers, etc. If you don't use any specific targeting, just leave default values in these options. [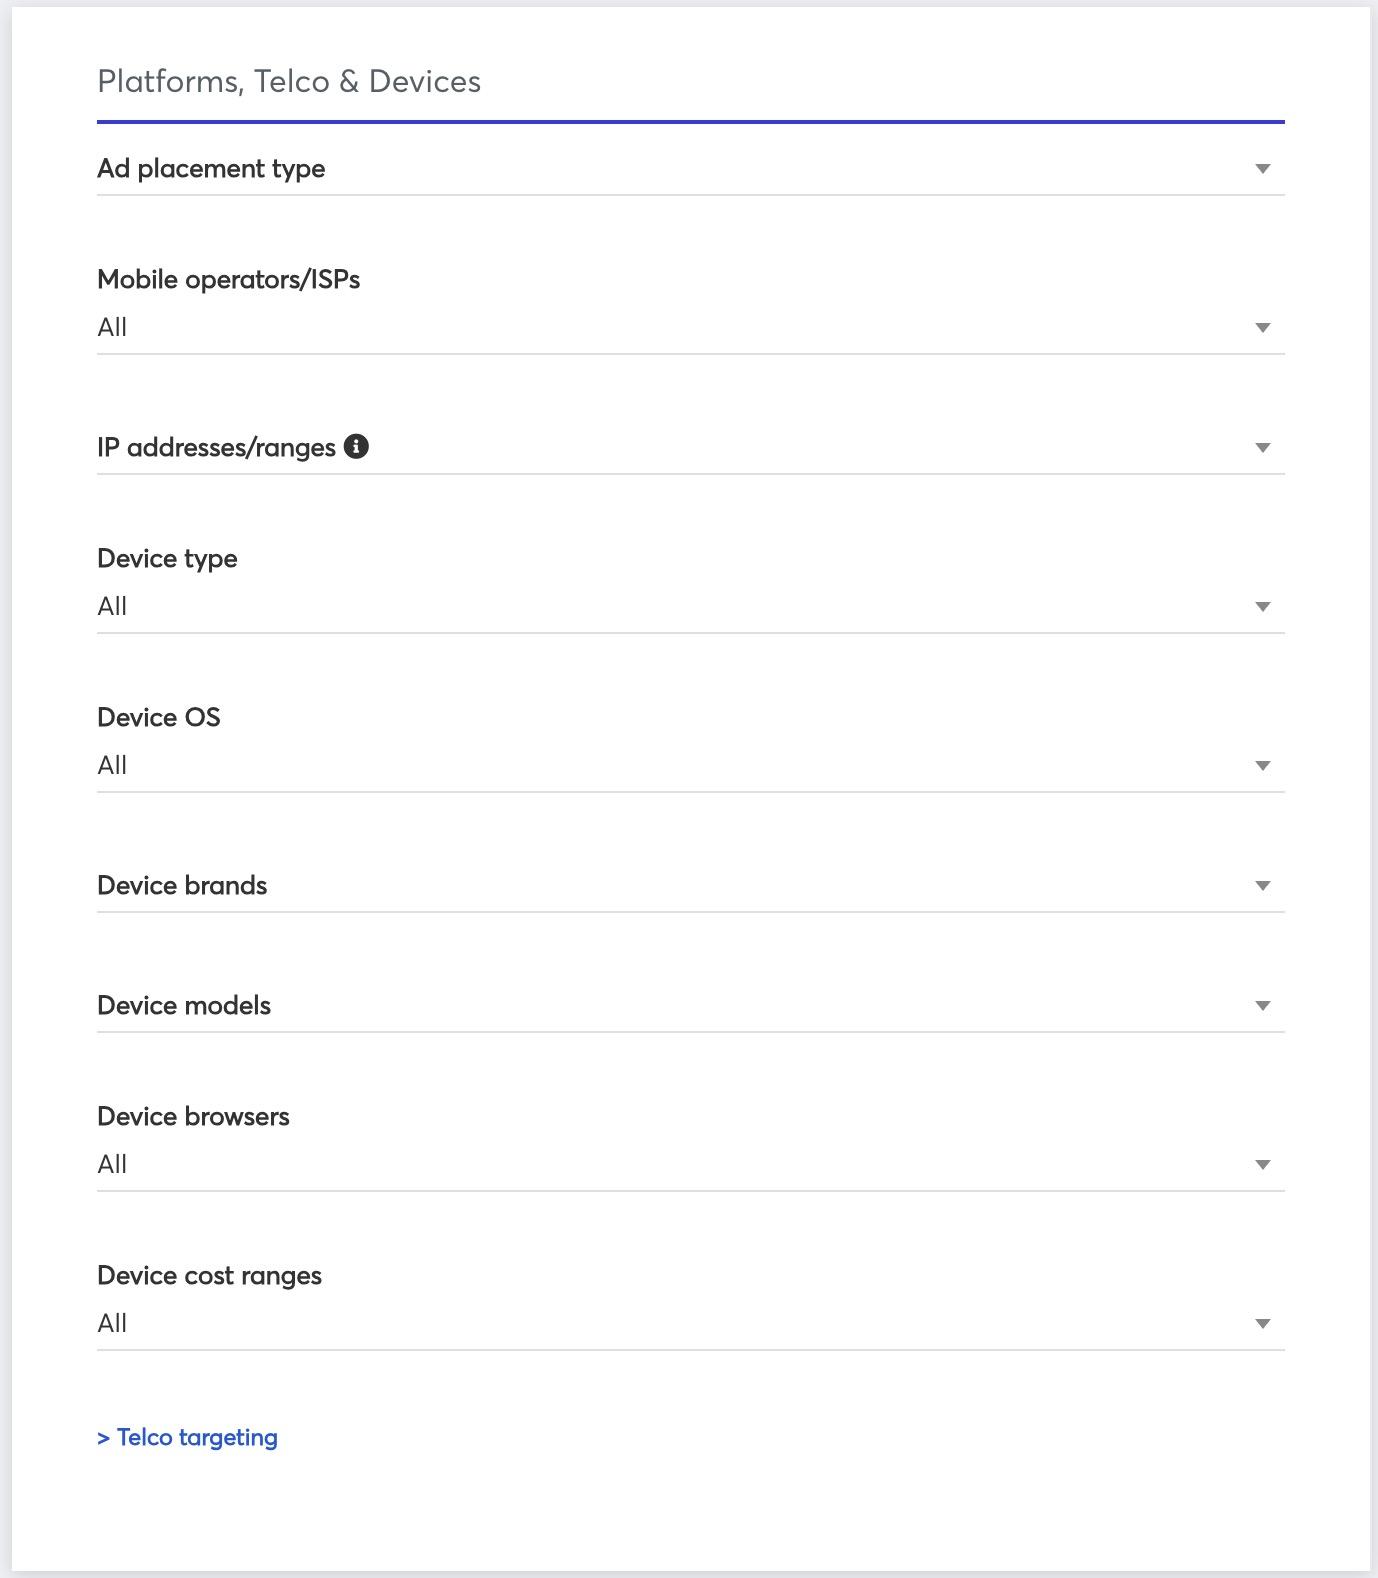](https://manual.eskimi.com/uploads/images/gallery/2025-06/iFnaV0Vc8z2R7t0V-screenshot-2025-06-27-at-12-50-15.jpg) **Step 12:** Here you can select exchanges where your ads will be delivered or keep it as default. Additionally, here you can select packages that have been previously uploaded to the DSP. [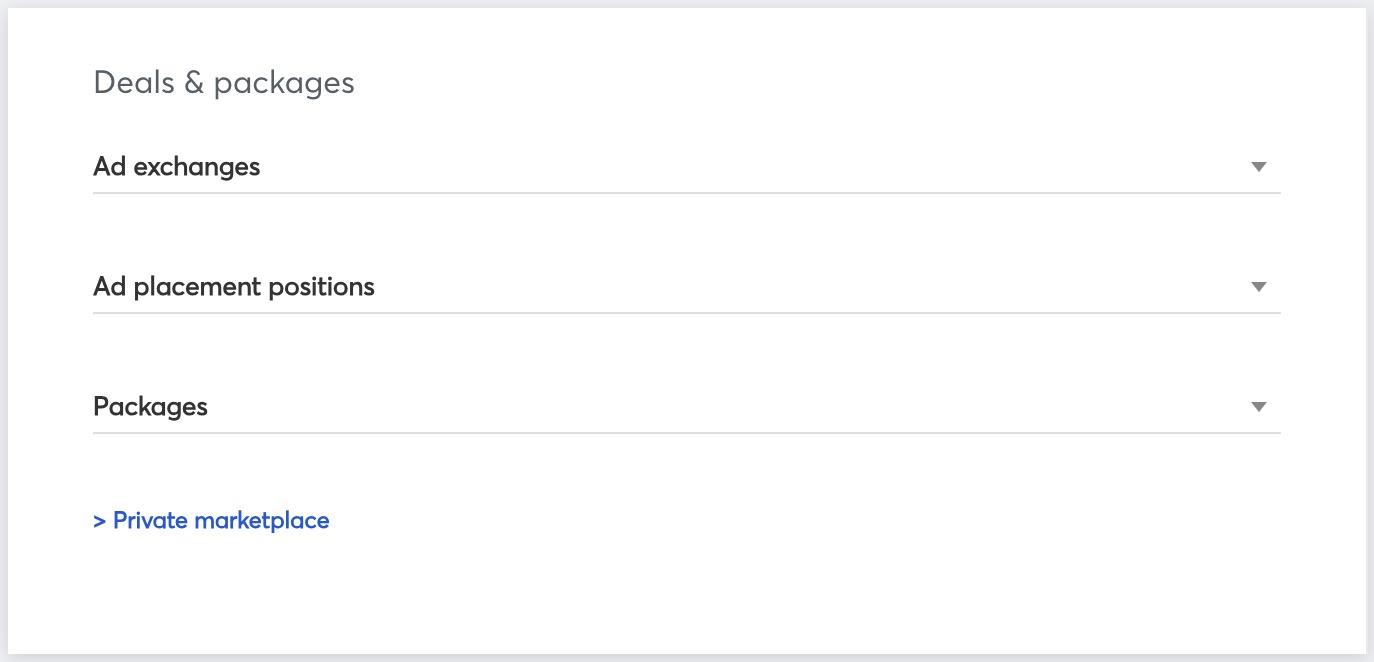](https://manual.eskimi.com/uploads/images/gallery/2025-06/jV0o3rkqHNR5Gh7t-screenshot-2025-06-27-at-12-53-58.jpg)[How to create a package](https://manual.eskimi.com/books/packages/page/packages-creation)
**Step 13:** Here you can choose click URL, the destination of where the user lands once he or she clicks on your banner, and select creative sets. **[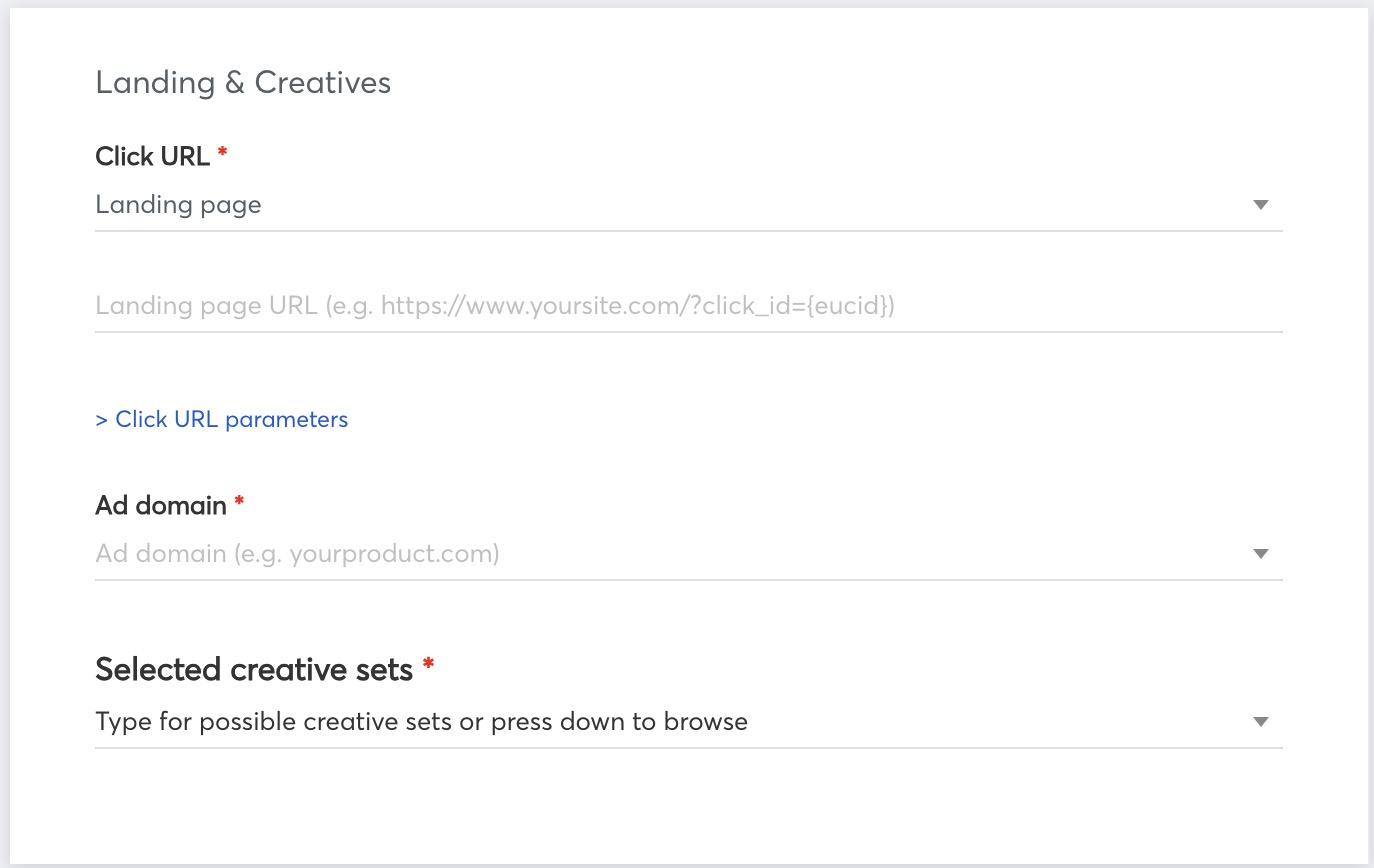](https://manual.eskimi.com/uploads/images/gallery/2025-06/MynhGHvBLVxpLsoW-screenshot-2025-06-27-at-12-59-16.jpg)**[How to set up Click to Action Landing Page](https://manual.eskimi.com/books/landing-page-click-to-action/page/setting-up-click-to-action-landing-page)
If you're choosing a basic landing page, don't forget to include https:// before your site name.
If it's an Android App download you'll have to enter your Google Play store ID
**Step 14:** Here you can set up 3rd party impression tracking for campaign. [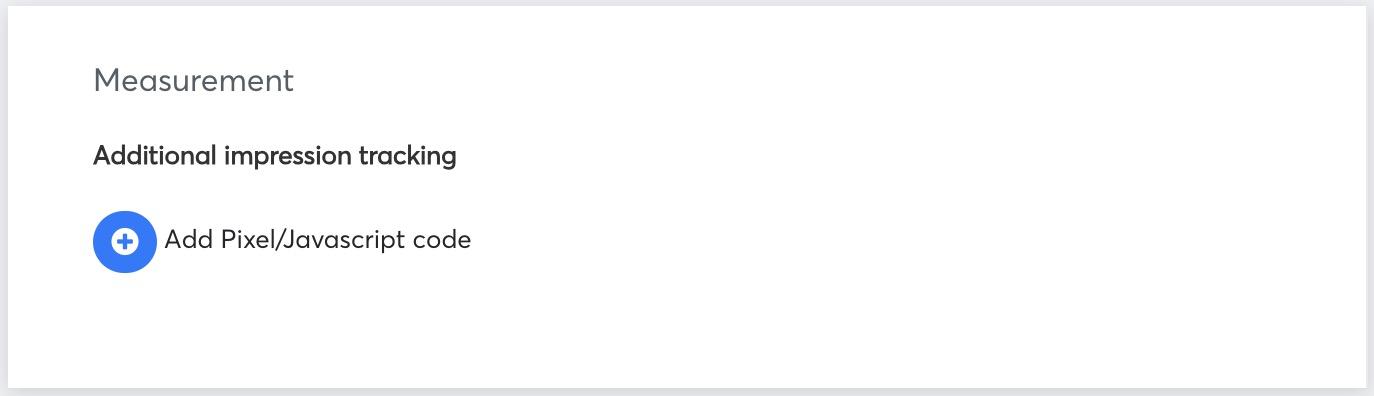](https://manual.eskimi.com/uploads/images/gallery/2025-06/rLrzJTD94jGVjsuG-screenshot-2025-06-27-at-13-12-21.jpg) --- #### **Checking status of your campaign** Once campaign is launched you will be able to track your campaign status and the amount of money it spends by looking at Budget and Status, there are some statuses that can be shown: [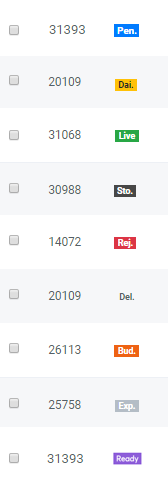](https://manual.eskimi.com/uploads/images/gallery/2025-09/fAxmZ1DL9K7840ha-statuses.png) - Pending campaigns are ready to be launched, they just need to be approved by admins. - Expired campaigns are the ones that have already ended. - Live campaigns are currently running. - Ready means the campaign has already been set up and approved, however, its launch date is set to start in the future. - Budget limit means the campaign has already used up all of its total budget and it cannot run anymore. - The daily cap means the campaign has already used up all of its daily budget and is now paused until the next day. - Stopped means that the campaign has been paused manually. - Rejected means that the exchanges have rejected this campaign and prevented it from running because it did not meet the necessary requirements. In the Budget section, you can see - *Custom bid* - *Budget daily:* on the left, it shows how much of the budget has been spending today, on the right - total daily budget. - *Budget total:* on the left, it shows how much money has already been spent during this campaign, on the right - total budget. # Steps to take before launching a campaign on Eskimi This guide will help you navigate the process of launching successful advertising campaigns using Eskimi DSP's platform. From uploading creatives to setting campaign goals and optimizing performance, this manual provides step-by-step instructions for creating impactful campaigns that reach your desired audience. Let's unlock the full potential of Eskimi DSP for your advertising success! #### Step 1: Creating a Creative Set and Uploading Creatives 1. Navigate to the Creative Sets section, where you'll upload your creatives. 2. On the Creative Sets page, click on the "Add Creative Set" button located at the top right corner. 3. In the creative set creation window, provide a suitable name for your creative set. Choose a descriptive name that helps you identify the purpose or theme of the creatives. 4. Next, select the desired creative format from the available options, such as banner, native, video, or native video. Consider the nature of your campaign and the type of creatives you have prepared. 5. Proceed to the next step by selecting the appropriate file format for the creatives you intend to upload. Eskimi DSP supports various file formats, including image formats (JPG, PNG, GIF), video formats (MP4), and JavaScript ad formats. 6. Once you have selected the file format, click on the "Upload" button. 7. Locate the files on your computer that you want to upload and select them. 8. Wait for the upload process to complete. The time taken will depend on the size of the files and your internet connection speed. 9. If you'd like to create templated rich media banners, refer to the section dedicated to it in this manual article for detailed instructions.[HOW TO CREATE CREATIVE SET](https://manual.eskimi.com/books/general-information/page/uploading-creatives)
#### Step 2: Targeting - Creating of Audience and Package If you'd like to launch a campaign with specific targeting options such as interest audience or a whitelist of websites, please follow the instructions below. 1. Audiences: - In the Audience section, you have the ability to create multiple audiences for your campaign: - **Campaign audiences** are automatically created audiences based on your launched campaigns. These audiences can include impression, click, conversion, and event audiences. These audiences can be used in your campaigns to refine your targeting. For example, you can exclude the impression audience from a particular campaign in order not to target users who have already seen the ad. - **DMP Audiences**: DMP (Data Management Platform) audiences include various targeting options: - Behavioral targeting allows you to target users based on their online behavior and interests. - Retargeting apps/sites visitors enables you to target users who have previously interacted with specific apps or websites. - Retargeting geolocation allows you to target users based on their physical location. - **First-party Audiences** consist of retargeting site first-party and user IDs (device) lists: - Retargeting site first-party enables you to target users who have interacted with your own website or app. - User IDs (device) lists allow you to target specific users based on their unique device IDs. 2. Creating Audiences: - To create the required audiences, click on "Add audience" button located at the top right corner. - Follow the instructions provided of each audience type to define the targeting criteria and create the desired audiences. - Once the audiences are created, they will appear in the campaign creation page. 3. Utilizing Audiences in Campaigns: - When creating a new campaign, you can leverage the audiences you have created in the targeting settings. - Look for the audience targeting options in the campaign creation interface. - Select the relevant audiences that you want to include or exclude from your campaign targeting. - By using these audiences, you can refine your targeting strategy and focus on reaching the most relevant audience for your campaign.[HOW TO CREATE AUDIENCE](https://manual.eskimi.com/books/audiences/chapter/audience-creation-guides)
#### Step 2.1: Package In Eskimi DSP, packages refer to whitelists and blacklists that can be targeted or excluded in the campaign. Follow the instructions below to create a package. 1. Go to Packages Section: - In Eskimi DSP, navigate to the Packages section. - Look for the option to create a new package. 2. Creating a Package: - Click on the "New Package" button to initiate the package creation process. - Provide a suitable name for your package. Choose a descriptive name that helps you identify the purpose or theme of the package. 3. Selecting Country: - Once you have named the package, select the country that will help filter out apps and sites from a particular country. - This selection allows you to narrow down the available apps and sites for inclusion or exclusion. 4. Advanced Search: - If needed, you can use the advanced search options, such as exchange and type, to refine your selection. - These options help you find specific apps or sites that match your targeting requirements. 5. Adding Apps and Sites to the Package: - There are two ways to add apps and sites to the package: a. Manual Selection: Click on the desired app or site to select it for inclusion in the package. Repeat this process for all the apps and sites you want to include. b. CSV File Upload: If you have a list of apps and sites, you can upload them using a CSV file. The CSV file should include columns for site domain, app bundle ID (Android), and app ID (iOS). 6. Auction Type: - The package creation process allows you to select the auction type for targeting or excluding the included apps and sites. - Choose the auction type based on your campaign needs. - It is generally recommended to have open auction and PMP (Private Marketplace) selected for better flexibility and reach. 7. Save the Package: - Once you have selected the apps and sites and set the auction type, save the package.[HOW TO CREATE PACKAGE](https://manual.eskimi.com/books/packages/page/packages-creation)
#### Step 3: Campaign Creation 1. Go to Campaigns Section: - In Eskimi DSP, navigate to the Campaigns section. - Click on the "New Campaign Group" button located at the top right corner. 2. Choose Creative Type: - In the campaign creation window, choose the desired creative type for your campaign. - Select from options such as banner, native, video, or native video, based on the format you want to use for your ads. 3. Select Campaign Type: - Under the campaign type section, choose the appropriate type for your campaign. - You can select either "Display" or "In-Game" depending on the nature of your advertising campaign. 4. Name the Campaign: - Provide a name for your campaign that accurately represents its purpose or theme. - Use a descriptive name that helps you identify the campaign easily. 5. Setting Campaign Goal and Objectives: - Based on the selected creative type, you will need to set a campaign goal. - Choose the primary objective that aligns with your advertising goals, such as brand awareness, traffic, or engagement. - Then, select a secondary objective that supports and complements your primary objective. - Setting campaign goals and objectives allows the system to optimize the campaign towards achieving those goals. 6. Launch Date & Budget: - In the launch date and budget section, specify the start and end dates for your campaign. - Set the CPM and the budget for your campaign to determine the maximum amount you're willing to spend. 7. Targeting: - Under the "Location & Audiences" section, choose the preferred targeting options for your campaign. - Select the locations you want to target and the audiences you want to include or exclude from your campaign. 8. Platforms, Telco & Devices: - In this section, you can select the ad placement type, whether it's on sites, apps, or both. - Additionally, you can choose various telco targeting options to further refine your ad placement. 9. Deals & Packages: - Customize the campaign by selecting impression capping, ad placement positions, and packages. - Impression capping allows you to limit the number of times an ad is shown to a user. - Under the Private Marketplace option, you can select deals that you have arranged with specific exchanges or publishers. 10. Landing & Creatives: - In the landing and creatives section, provide the landing page URL for your ad. - Add UTM parameters if needed to track campaign performance. - Specify the ad domain associated with your campaign. - Select the desired creative sets for your campaign. For each creative, you can provide a different landing page or impression tracker if needed. 11. Save and Launch: - Review all the settings and configurations for your campaign. - Once you are satisfied, click on the "Publish" button to launch your campaign.[HOW TO SET UP CAMPAIGN](https://manual.eskimi.com/books/start-advertising/page/how-to-set-up-a-campaign-on-eskimi)
# Campaign Approval Request for Self-Served Clients It's important for Self-Served Clients to request for campaign approval via DSP/Dashboard. The process is the most efficient and recommended way to go live with Campaigns. Submitting campaign approval requests via DSP/Dashboard ensures a faster approval process without the need to send separate emails every time or investing additional time while communicating via different channels. --- #### **Steps to follow** 1. Click on the three dot menu at the very right side of the campaign in the Dashboard. 2. Click on "**Edit**". 3. When the page is fully loaded, scroll down to the bottom. 4. Click on the "**Publish and request for approval**" button. 5. An auto generated campaign approval request ticket will be submitted. The campaign will be approved and set live after reviewing by Ad Operations Specialists. --- #### Take a look at the following video tutorial for visual guidance: #### --- #### **Notes:** - It's recommended to launch campaigns or request for campaign approval on weekdays. - Approval could be delayed if requested during holidays or weekends. --- # Campaign Optimisation Basic campaign optimisation flow # Campaign optimisation using app/site #### **Steps how to do it:** 1. Press the three dots on the campaign you want to optimize. 2. Select **Targeting Optimisation**. 3. Change the filter to optimise by **App/Site Name**. 4. Choose a period. 5. Press **Search**. By following the mentioned steps you will see this table. There is an option to filter out by concrete app/site names on the right corner. The optimisation could be done by turning off app/sites that are not performing based on the secondary KPIs (viewability/ CTR and etc.) **Action column meanings:** - Play (red) - The site/app is not bidding and user can start bidding on this site/app by clicking on the play icon - Pause (green) - The site/app is bidding and user can stop bidding on this site/app by clicking on the pause icon [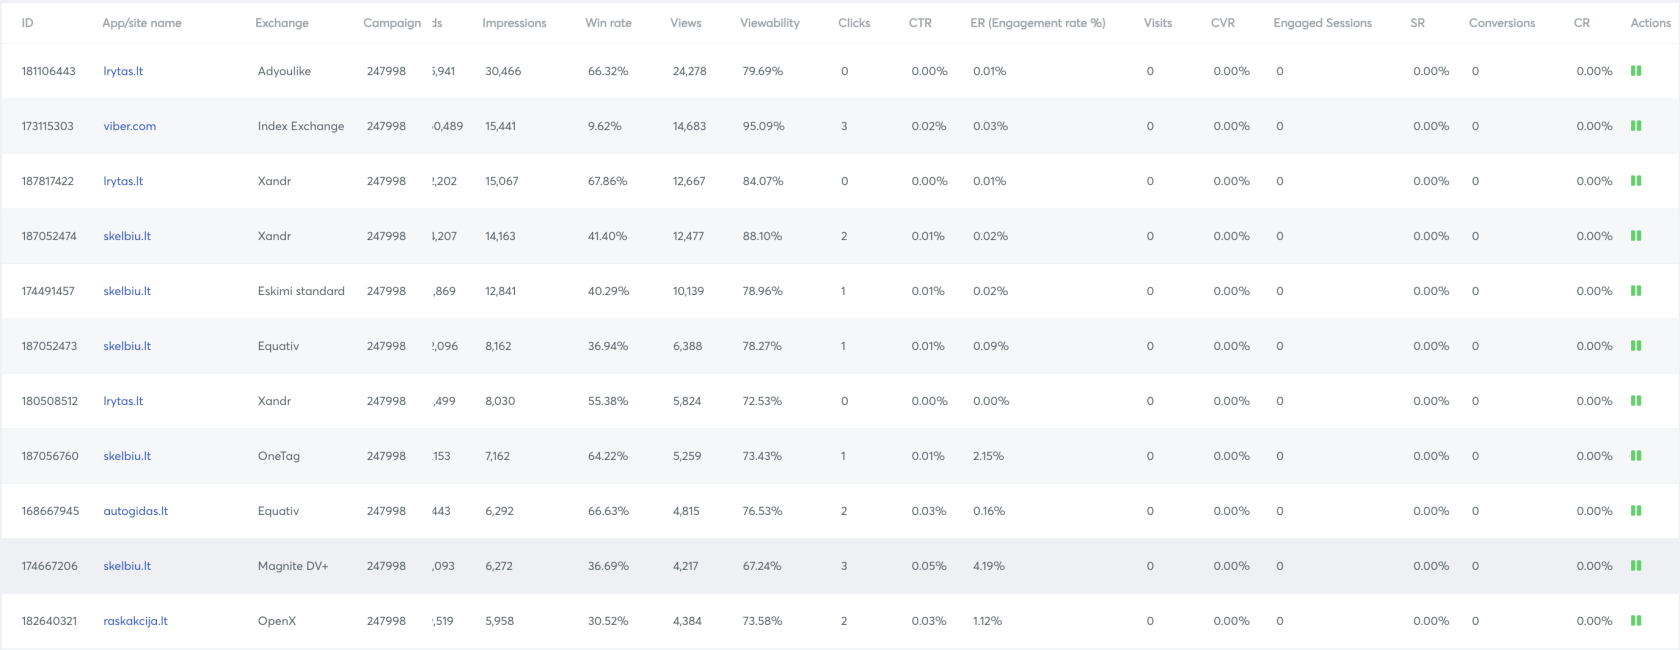](https://manual.eskimi.com/uploads/images/gallery/2025-09/SZ9X0oN7FtcrIRPO-screenshot-2025-09-15-at-16-18-39.png) #### **Advance filter in campaign optimisation** In campaign optimisation page there is an advance filter. Using this there is a possibility to filter data more efficiently: - There is an option to add as many filter (rows) we want by clicking on **Add new dimension or metric** - To add a new row we get 2 options, AND & OR - AND: Both of the logics have to be true(rows around it) at the same time - OR: Any one of the logics must be true (rows around it) - We can include/ exclude to include/ exclude any condition Example: We can exclude apps/sites for which impressions are less than 100000 [](https://manual.eskimi.com/uploads/images/gallery/2025-09/Yx9lJnlZfqNXJrmj-sopbqdoz3u60hhey-image-1634138955095.png) - Using the source/ medium filter we can use Bids, impressions, Win Rate, Views, Viewability, Clicks, CTR, Conversions, CR, CPM, CPC, CPA and Spent - Using the containing filter and value filter we will be able to complete the logic. In containing we will use the relation with the value. # Advance filter in campaign optimisation In campaign optimisation page we have advance filter. Using this we will be able to filter data more efficiently. How this filter works: - We can add as many filter(rows) we want by clicking on "Add new dimension or metric". - To add a new row we get 2 options, AND & OR - AND: Both of the logics have to be true(rows around it) at the same time - OR: Any one of the logics must be true (rows around it) - We can include/exclude to include/exclude any condition - Example: We can exclude apps/sites for which impressions are less than 10000 [](https://manual.eskimi.com/uploads/images/gallery/2021-10/soPbqdoz3U60hhEy-image-1634138955095.png) - Using the source/ medium filter we can use Bids, impressions, Win Rate, Views, Viewability, Clicks, CTR, Conversions, CR, CPM, CPC, CPA and Spent - Using the containing filter and value filter we will be able to complete the logic. In containing we will use the relation with the value. In the video we will show how it will work: