Setting up your campaign
Campaign requirements
- The goal of the Campaign. Set the goal for the campaign (awareness/ lead generation/ clicks generation, etc.)
- Target Audience. Define your target audience by interest.
- Main KPI. Select ONE campaign KPI that is most important for you. It can be impressions/ clicks/ interactions/engagements (depending on your campaign type). Remember, that the campaign will be optimized for ONE KPI, though others will be monitored as well.
- Creatives. Banners that will be showed to your audience.
- Budget. What budget do you have allocated for this campaign?
- Duration. What is the duration of the campaign? If you are not sure, the Eskimi team will gladly advise you.
- Landing Page. Do you have the landing page where the traffic from campaign ads will be generated? It’s very important that your landing page is tested and works properly, because it may affect the results of the campaign.
- Tracking. Does your landing page have an Eskimi tracking code? It is not mandatory, but it will help your campaign reaching better results.
Campaign setting up process
The following steps will help to learn how to set up a new banner ad campaign in 6 easy steps.
IMPORTANT: Before setting up your campaign, your creatives should already be uploaded and ready to use.
Step 1: Login to your DSP account, select Campaigns, and click "New Campaign".

Step 2: Select campaign type - banner.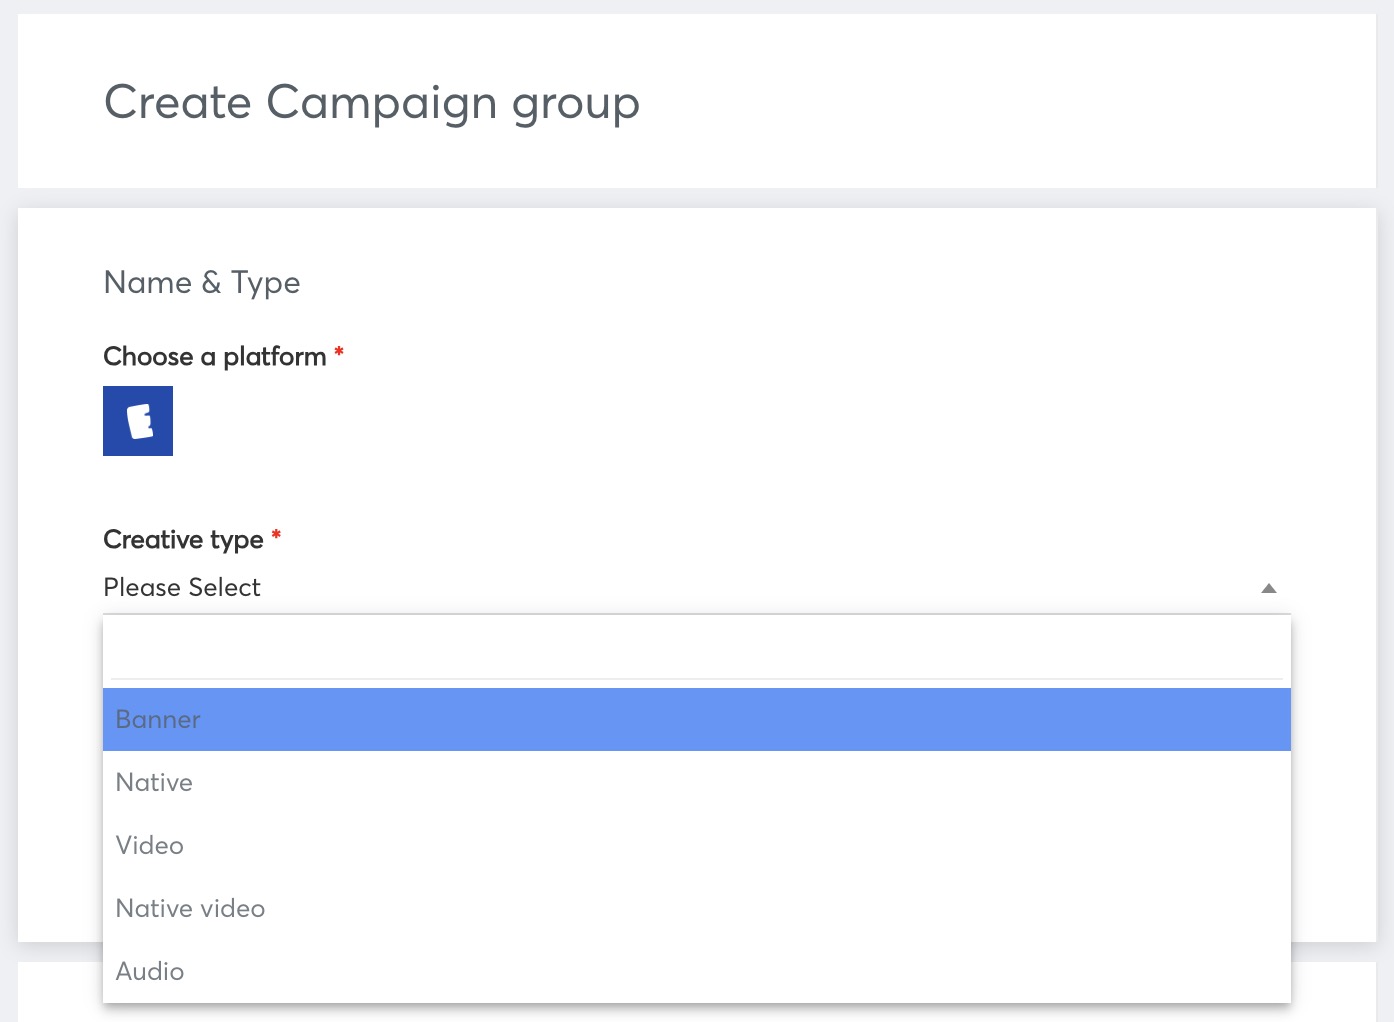
Step 3: Write the name of your campaign.

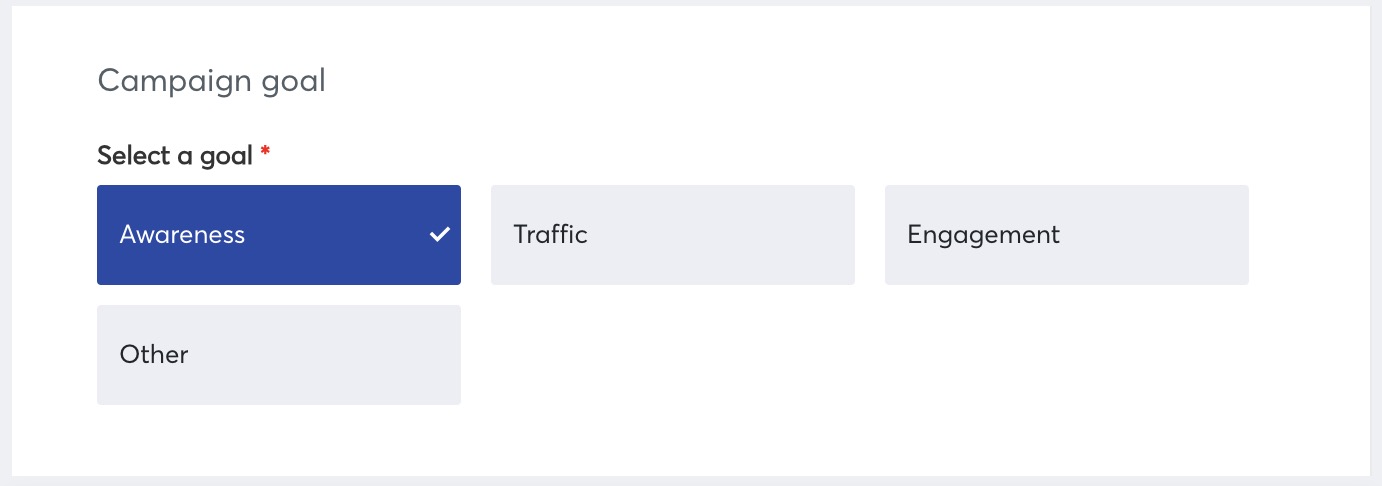
Step 4: Select a campaign goal Awareness.
Step 5: Select primary campaign objective, input planned value for it and press Save.
Step 6: Select secondary campaign objective, input planned value for it and press Save. Set up auto-optimisation -> input Minimum impressions per placement to learn.
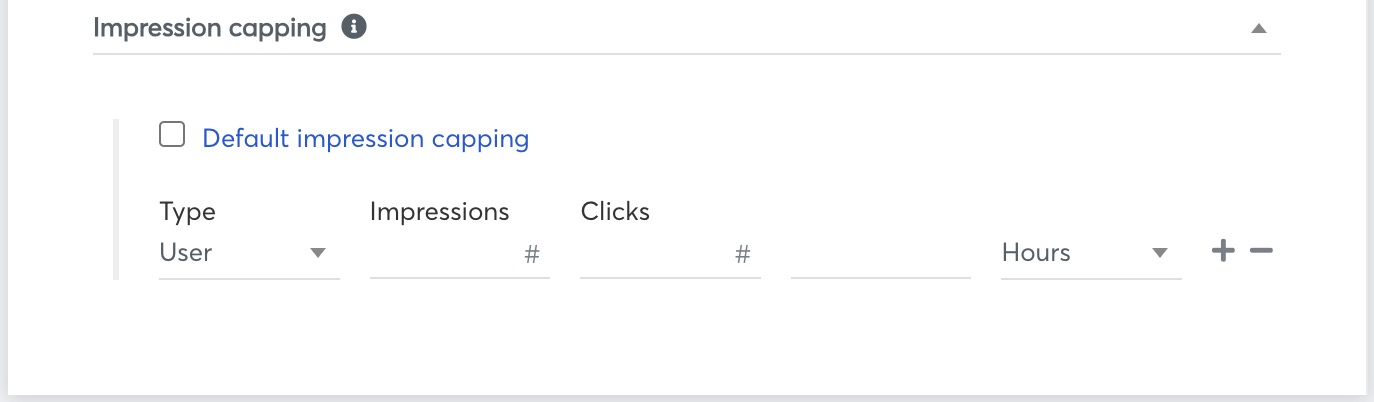
Step 7: Set up frequency by implementing impression capping* or keep it as default (1 click or 7 impressions within 24 hours per user).
*Impression capping means the number of impressions and clicks that a single user can see in a given time frame. In the example photo below we see that the user can view your ad a maximum of 2 times in 10 minutes and click on it once. You can make it less or more frequent depending on what you want to achieve: if your main goal is Awareness - you should make capping frequent, as frequent as 3 impressions in 5 minutes or so. If your main goal is Lead generation - you can make capping a little less frequent - maybe 1 impression in 20 hours or so.
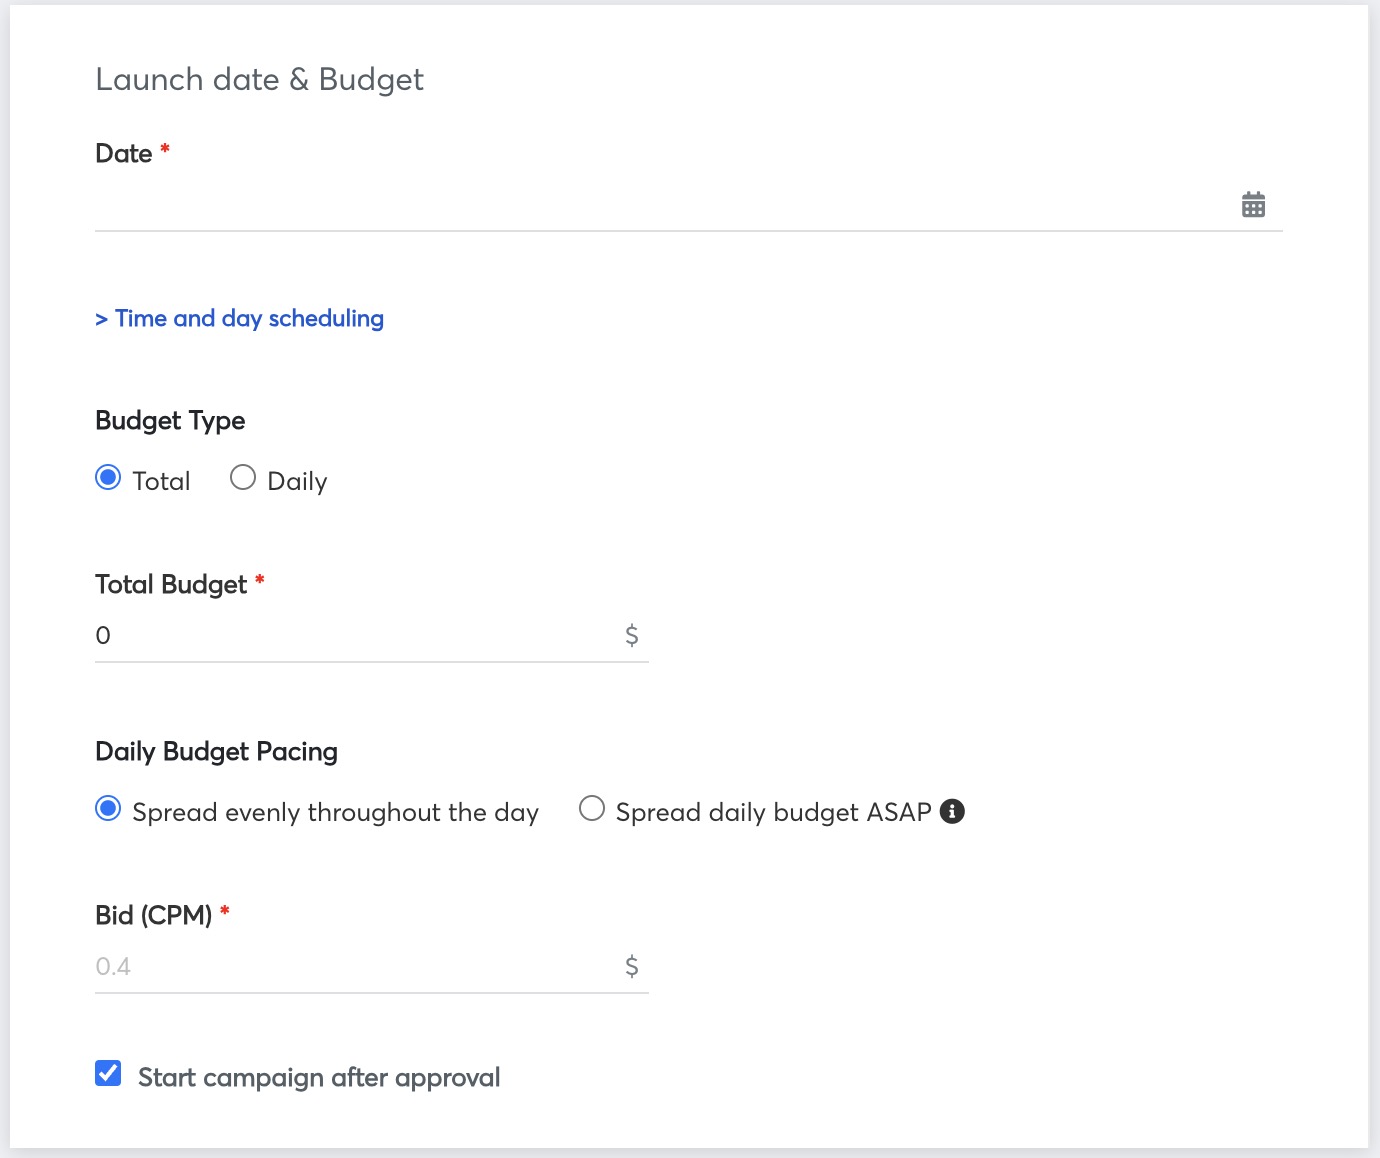
Step 8: Select duration dates. Here you can set up time targeting (select specific hours of the day when your campaign should be displayed). Then choose budget type (total or daily). Based on your choice insert daily budget or total budget. Here you can set up Daily Budget Pacing. Finally, add Bid (CPM).
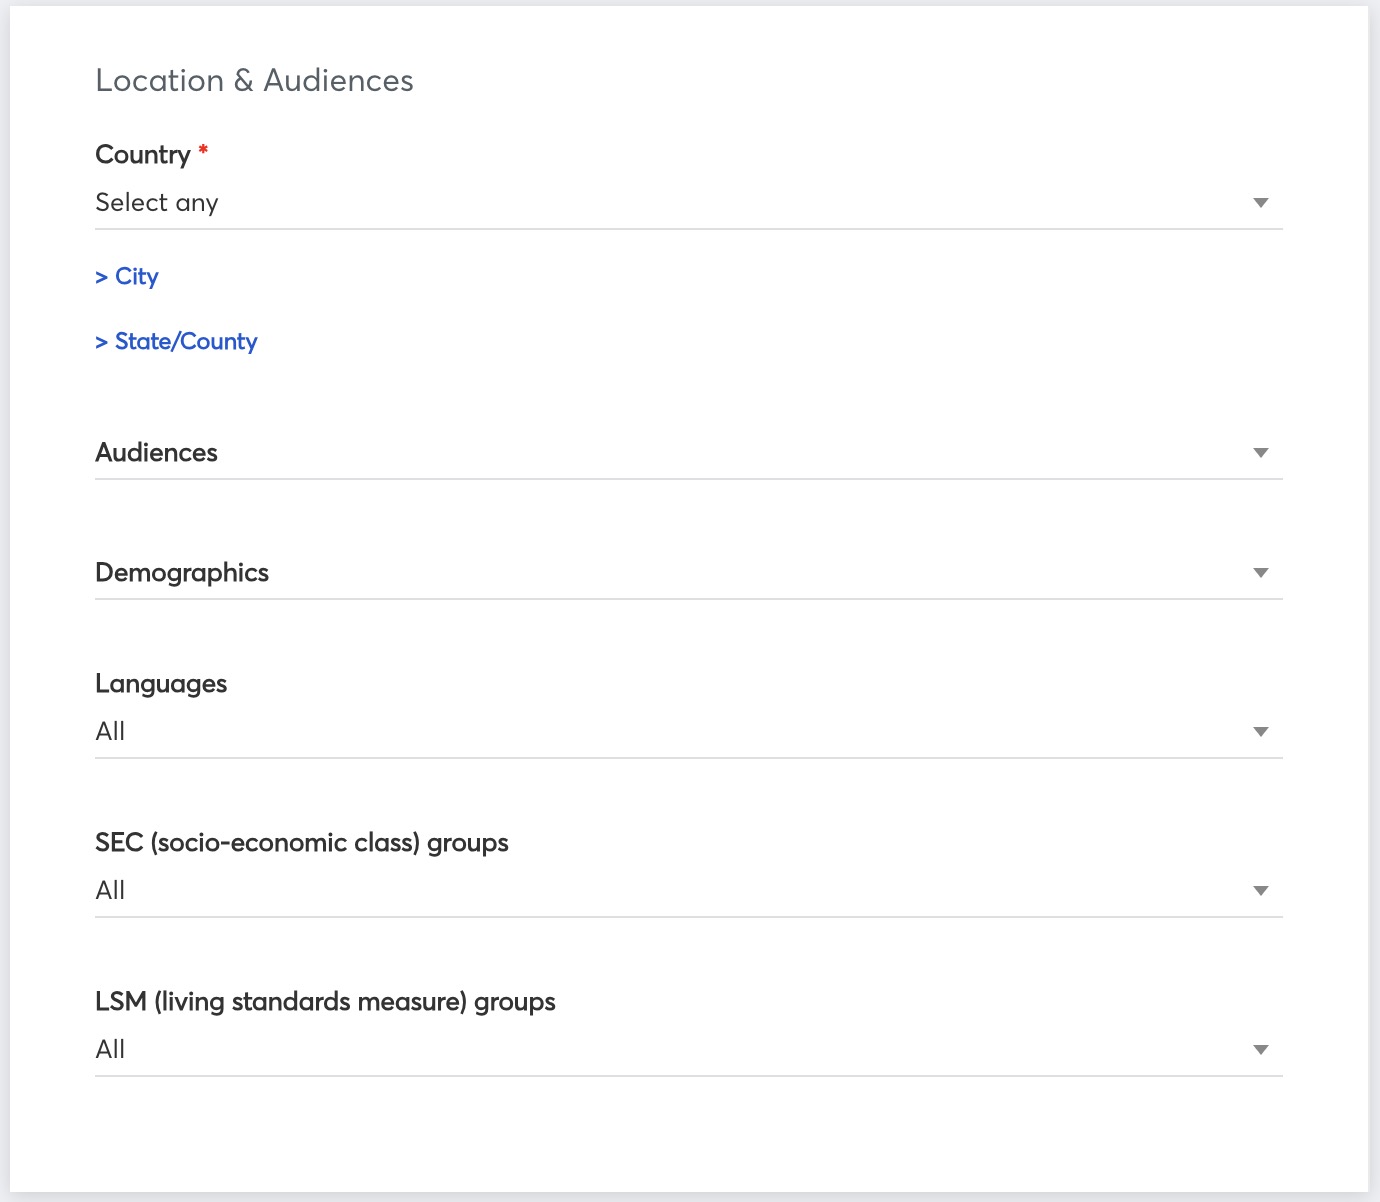
Step 9: Select a country. Here you can also target users by city, states, audiences, demographics, languages, SEC (socio-economic class) groups, LSM (living standards measure) groups. If you don't use any specific targeting, just leave default values in these options.
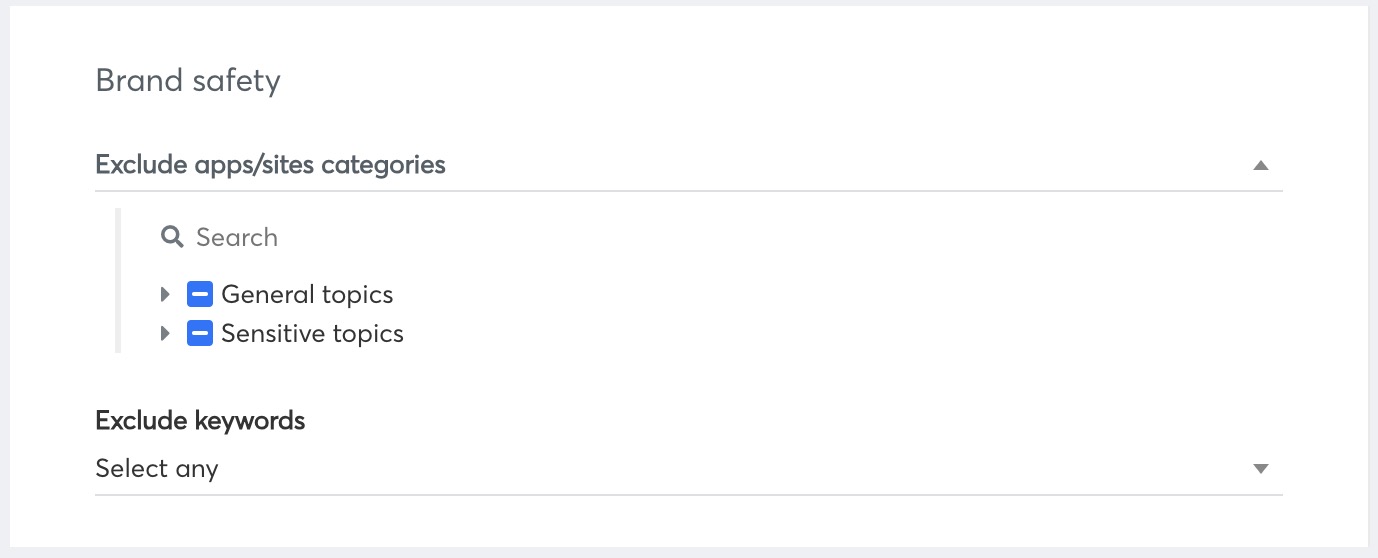
Step 10: Set up Brand safety or leave default values in these options (optional).
Step 11: Set up Contextual targeting (optional).
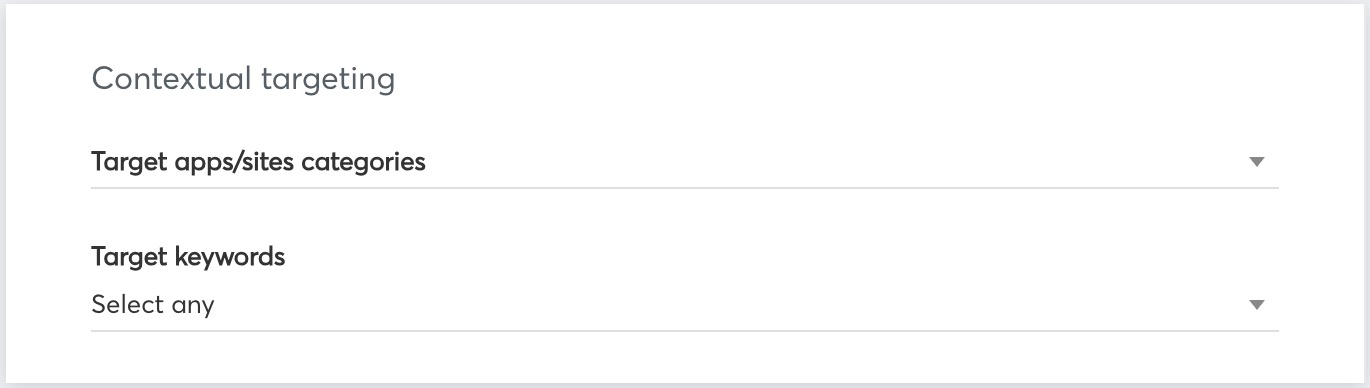
How to enable Contextual Targeting on a campaign level
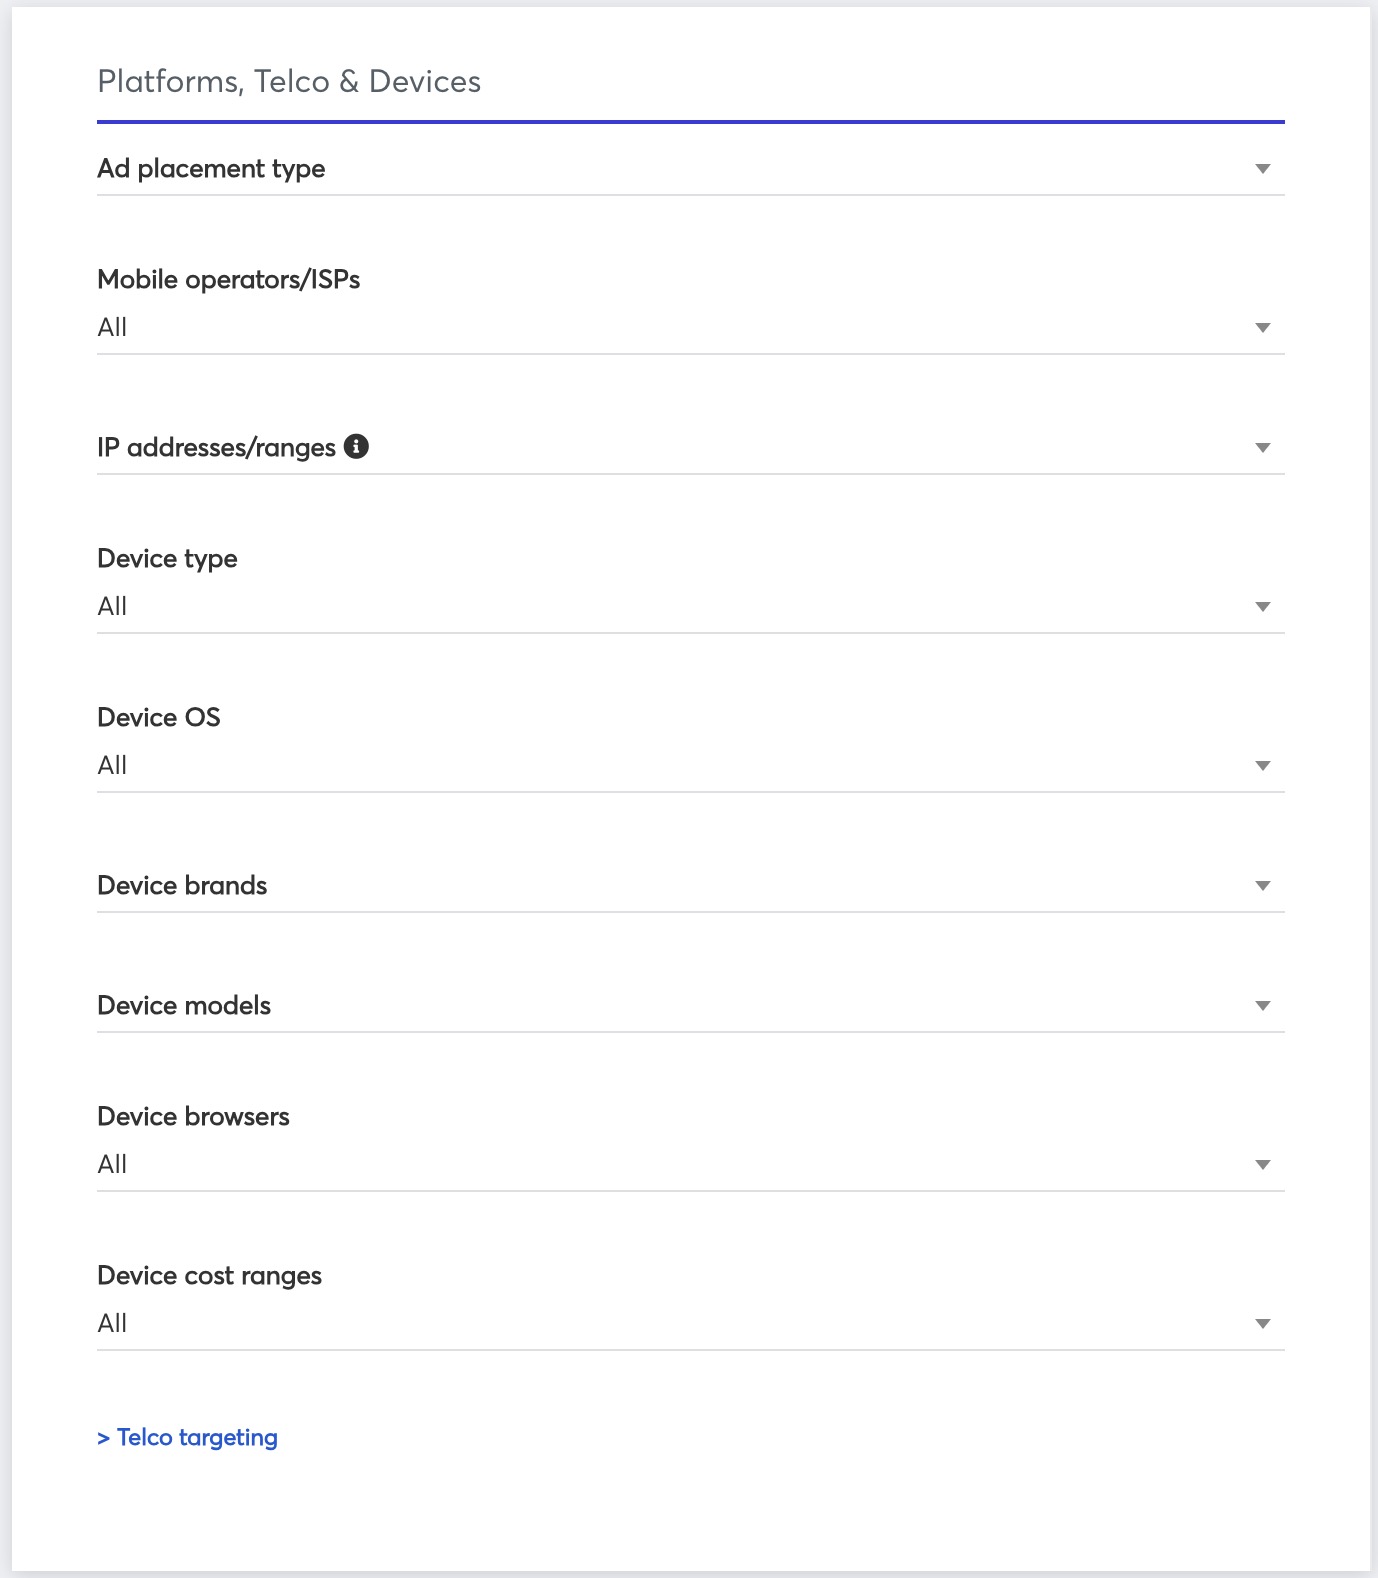
Step 12: Here you can target users by mobile operators, device types, browsers, etc. If you don't use any specific targeting, just leave default values in these options.
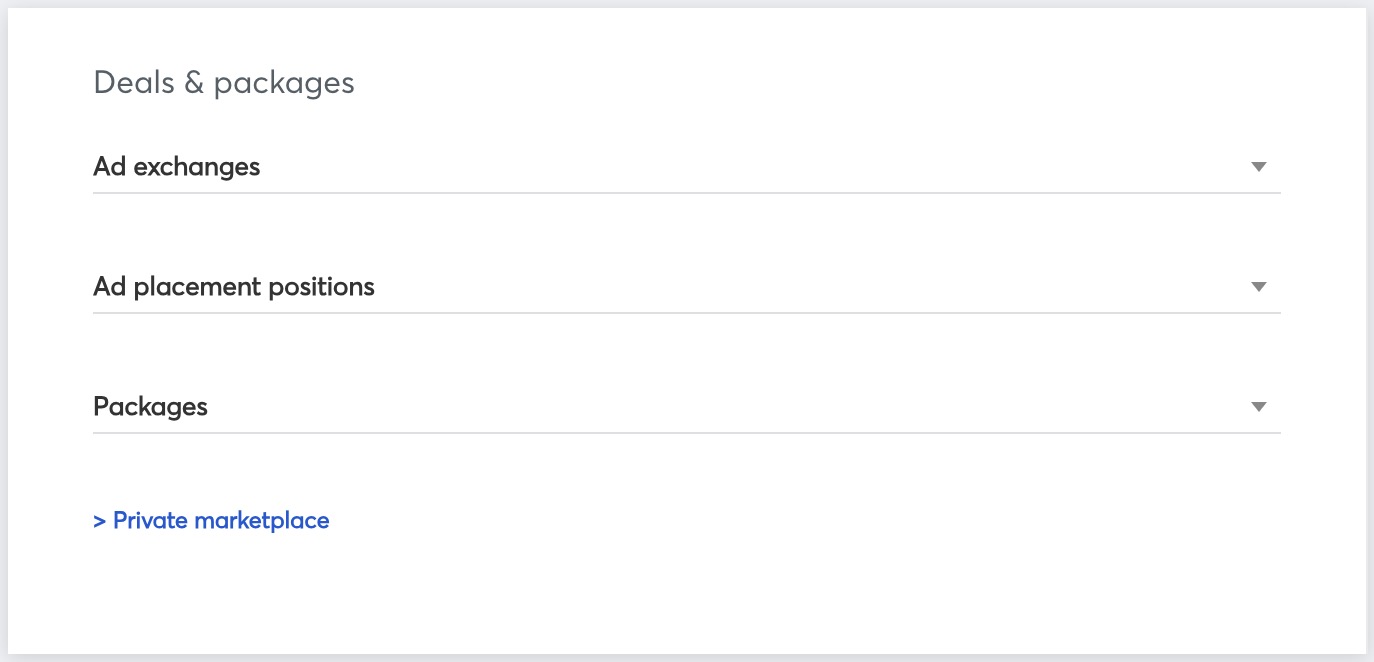
Step 12: Here you can select exchanges where your ads will be delivered or keep it as default. Additionally, here you can select packages that have been previously uploaded to the DSP.
Step 13: Here you can choose click URL, the destination of where the user lands once he or she clicks on your banner, and select creative sets.
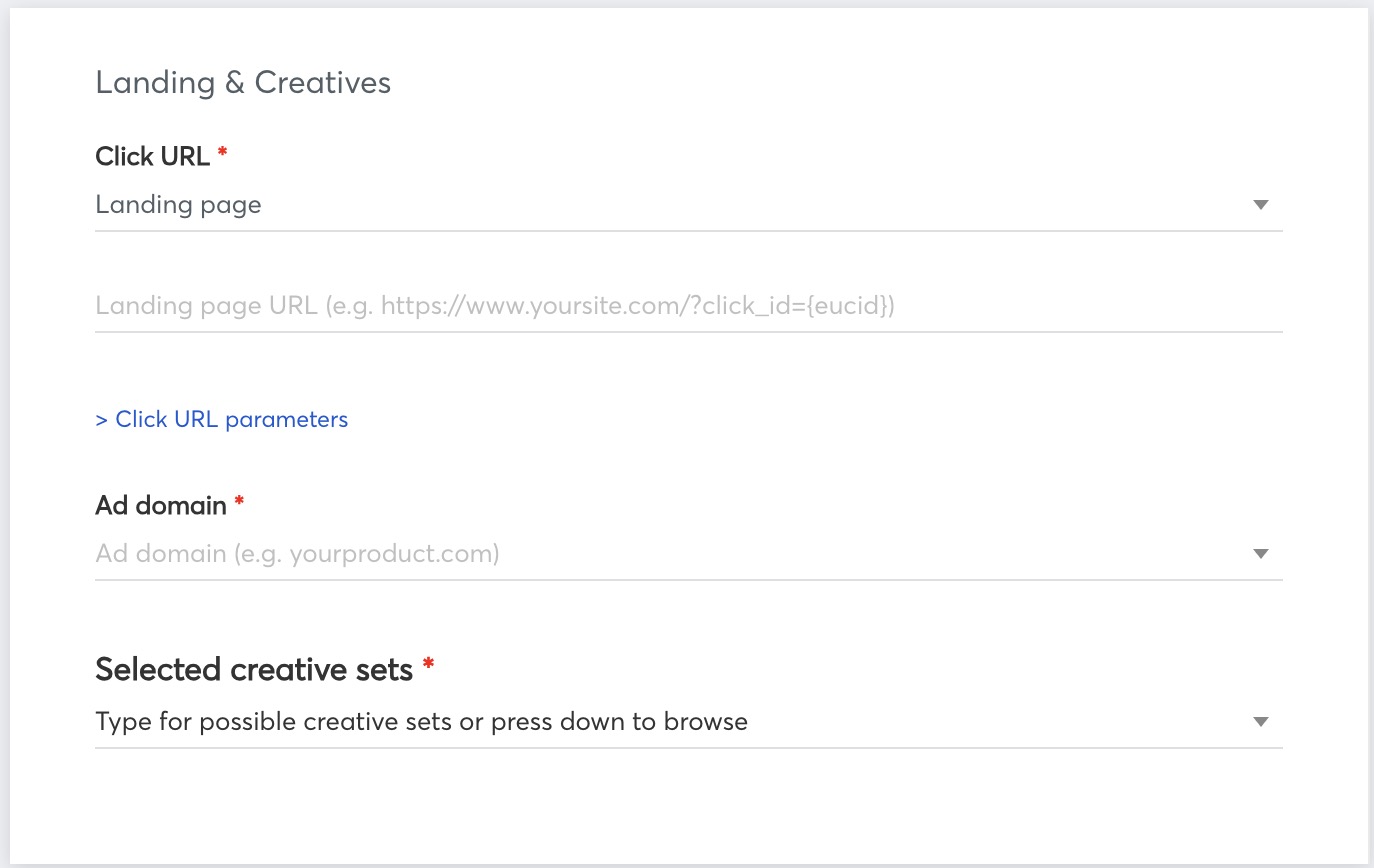
How to set up Click to Action Landing Page
If you're choosing a basic landing page, don't forget to include https:// before your site name.
If it's an Android App download you'll have to enter your Google Play store ID
Step 14: Here you can set up 3rd party impression tracking for campaign.
Checking status of your campaign
Once campaign is launched you will be able to track your campaign status and the amount of money it spends by looking at Budget and Status, there are some statuses that can be shown:

- Pending campaigns are ready to be launched, they just need to be approved by administrators.
- Expired campaigns are the ones that have already ended.
- Live campaigns are currently running.
- Ready means the campaign has already been set up and approved, however, its launch date is set to start in the future.
- Budget limit means the campaign has already used up all of its total budget and it cannot run anymore.
- The daily cap means the campaign has already used up all of its daily budget and is now paused until the next day.
- Stopped means that the campaign has been paused manually.
- Rejected means that the exchanges have rejected this campaign and prevented it from running because it did not meet the necessary requirements.
In the Budget section, you can see
- Custom bid
- Budget daily: on the left, it shows how much of the budget has been spending today, on the right - total daily budget.
- Budget total: on the left, it shows how much money has already been spent during this campaign, on the right - total budget.