Eskimi Pixel Implementation via GTM
In some cases, a user wants to implement Eskimi DSP tracking pixel through Google Tag Manager or GTM in short. This short user guide will help you.
Audience pixel implementation
Access your GTM account, and on the top left side of the page select New Tag. Firstly, name you Tag according to the tag configuration and triggering.
Secondly, Under Tag Configuration choose tag type - Custom HTML and paste the Eskimi DSP base (audience) tracking code code. Under Advanced Settings select Tag firing option - Once per page
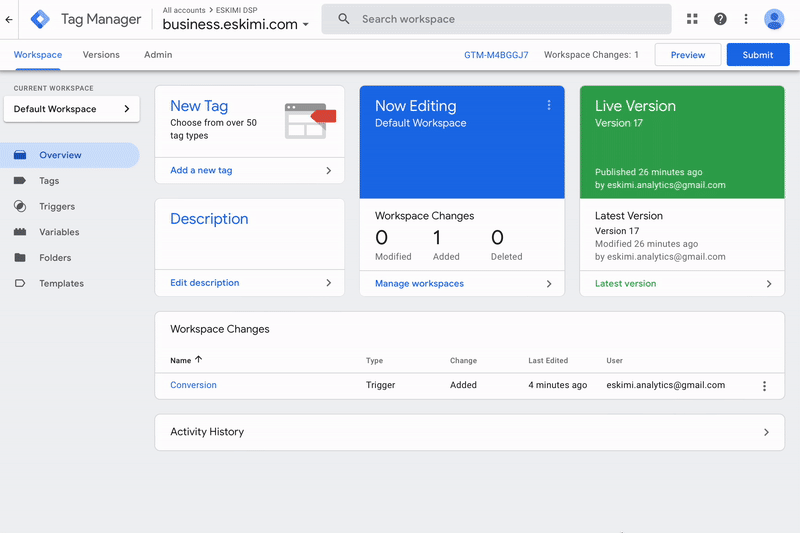
Finally, Under the Triggering section choose a default trigger - All Pages (Page View). Once the Tag Configuration and Triggering is added, press save.Save.
Conversion pixel implementation
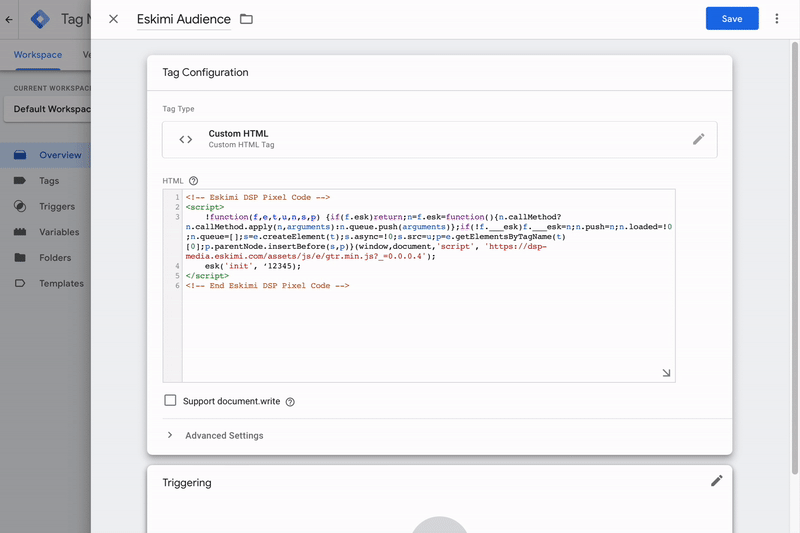
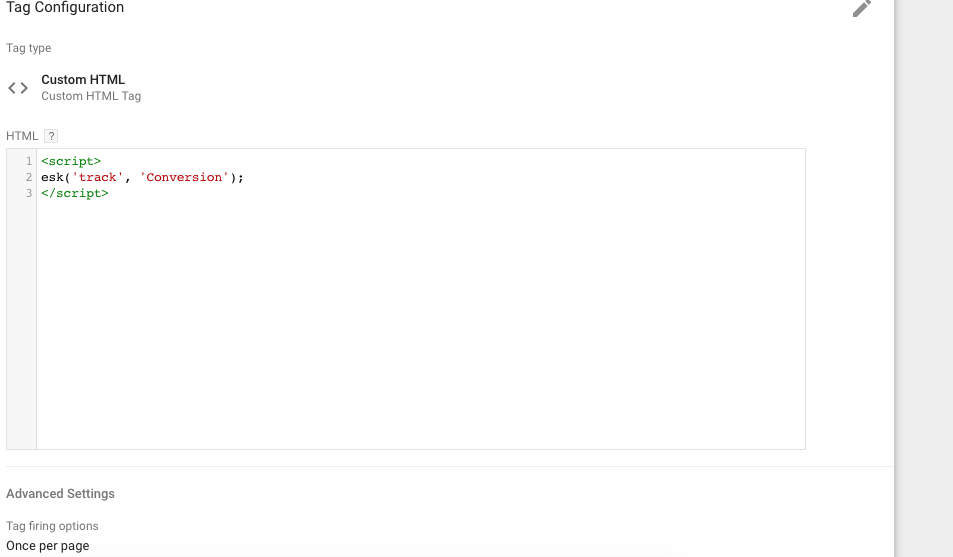
In order to implement Eskimi conversion tracking pixel, press New Tag. Name the tag according to the tag configuration and triggering.
Under Tag Configuration choose tag type - Custom HTML and paste conversion tracking code
Step 2
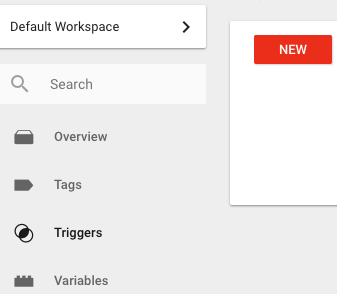
The next step is to create a trigger, which will fire the conversion trigger. In this example, we will set up the conversion to be fired from the page's success page. First of all, on the left of the page select "Triggers" and then press "New".
Then you will be greeted with a new screen that looks similar to the Tag creation screen, but there a few differences. We will have to set up the triggering event.
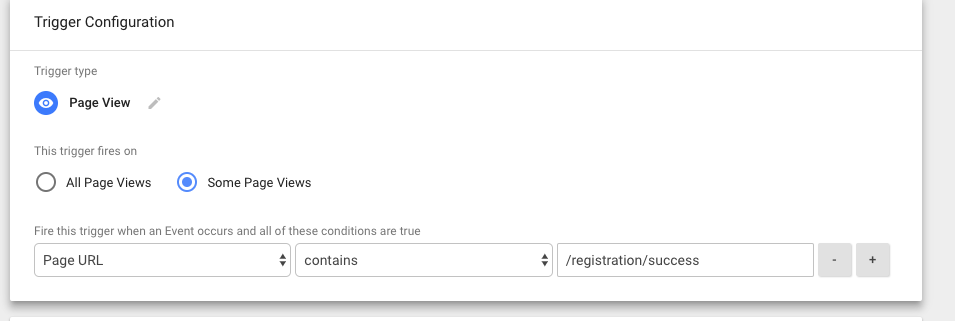
First of all, select the "Trigger type" as "Page View", this means that the code will be trigger when a page is viewed, of course, you can change the type based on your preference ( raging from JS, DOM events, and etc. ).
After that, you have to define when the trigger fires on. Since this is a success page, we have to indicate that the trigger is fired on some page view, and then you can indicate the rules. Here we will indicate, that this is from the Page URL, and you can indicate either the full URL and a snipper of the success page URL.
Step 3
As in Step 1, create a new Tag, but this time indicates the Conversion event which is to be wrapped in <script> </script> tags.
After adding the HTML code, select your previously created custom URL trigger.
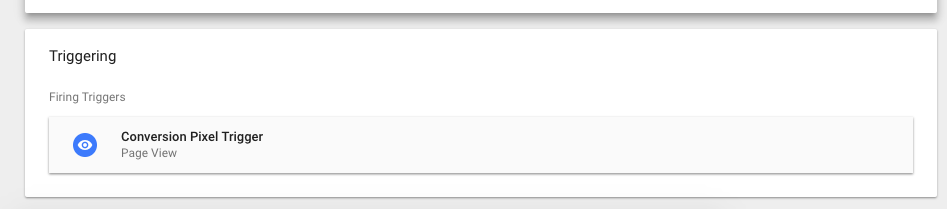
And then save the Tag. After creating all the necessary tags, triggers you have to Publish the changes.
Here is the video that shows all of this process.