Retargeting Site First Party Audience
First-party data is defined as data that was collected directly about your audience. In most cases, in Eskimi, we are collecting first-party data from your own website.
How is first-party data collected?
First-party data is collected by adding a pixel to a customer website that collects information about the behaviors and actions of the audience and records it. Whenever a visitor lands on or clicks on the website, looks at products, or fills out a survey, that data can be collected.
How to create a User First Party Audience:
Step 1: Accessing the Audience Management Feature
-
Log in to your Eskimi DSP account.
-
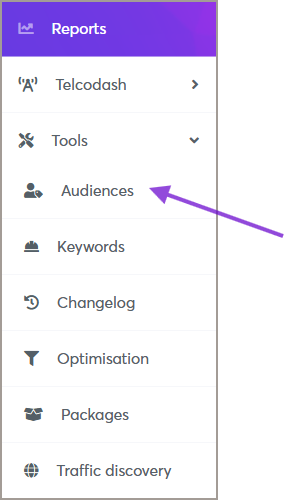
Click on Audiences to access the audience management page.
Step 2: Creating a New Behavioral Audience
- On the Audiences page, click the Add Audience button (top right corner).
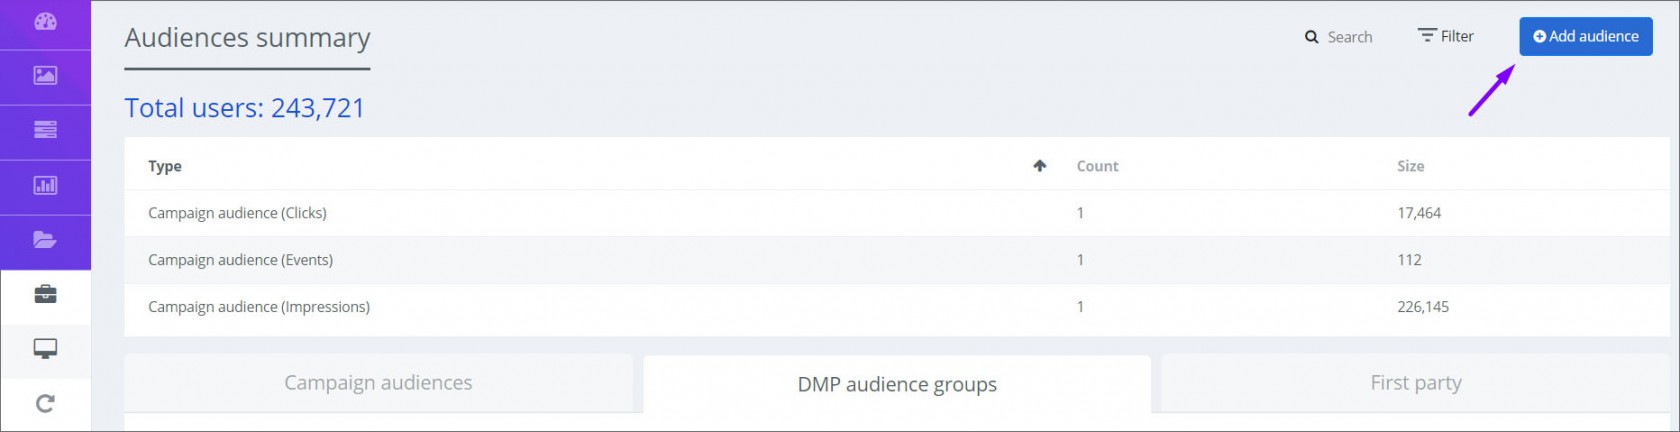
-
A new window will appear—fill in the required information:
-
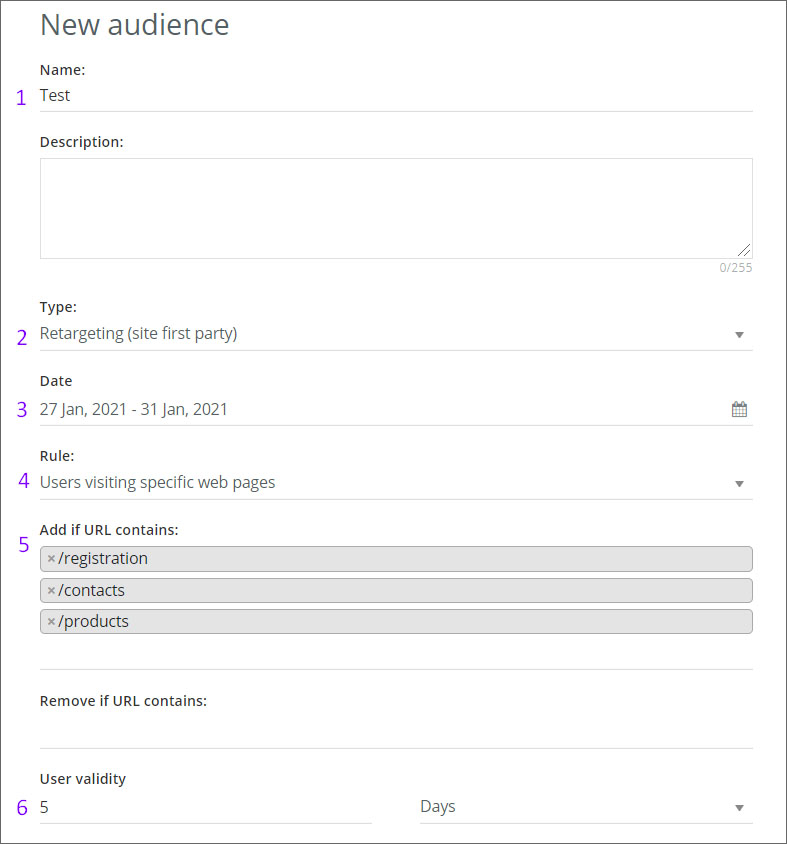
Audience Name: Enter a descriptive name for your audience.
-
Type: Select Retargeting (Site First Party) as the audience type.
-
Date: Choose date interval - here you indicate how long the audience will be collected
- Rule: Choose the rule - "Anyone visiting the website" OR "Users visiting specific web pages"
-

Step 3: Applying Retargeting Site First Party Audience to a Campaign
Once your Retargeting Site First Party Audience is created, you can apply it to your campaign:
-
Open the campaign you want to edit.
-
Navigate to the Audience Targeting section.
-
Select the Retargeting Site First Party Audience you created.
-
Save the campaign settings.
Let's now take a hypothetical situation: a customer wants to track audiences who enter the website's registration page, products page, and contact page.
Using the old tracking codes, we had to generate 3 separate codes which had to placed in these specific pages. But using the new tracking pixel, it is possible to use the same audience pixel on each website page, the rest is configured through the dashboard.
- To start the audience configuration, change the Rule from "Anyone visiting the website" to "Users visiting specific web pages"
- A new field named "Add if URL contains:" will appear
-
Since we have a hypothetical situation, add the URLs. For exampl,e registration URL will be "/registration", products page URL "/products", contacts page URL "/contacts"
- After adding the URL's set the "User validity" - here you indicate how long the collected audience will be stored.
When all variables are set, click "SAVE" and that's it, your Audience is configured and saved.
Note: if a customer wants to collect audience from 2 or more different websites, then only one tracking pixel is needed (but the same pixel must be installed on all websites).
But it's also important to keep in mind that the tracking pixel is linked only to one Eskimi DSP customer account. If a customer wants to collect an audience from 2 or more websites and campaigns will be launched from different accounts, then depending on the number of accounts, there will be a corresponding number of tracking pixels.