Packages Creation
Creating a Package on Eskimi DSP: A Step-by-Step Guide
Eskimi DSP’s Packages feature allows advertisers to create and manage custom lists of websites, mobile apps, or specific placements for their ad campaigns. There are two main types of packages:
-
App/Site Packages: These packages contain specific websites and mobile apps where ads will be displayed.
-
Placement Packages: These packages are based on placement IDs, allowing advertisers to specify exact placements for their campaigns.
This guide will walk you through the process of creating and implementing both types of Packages in your campaigns.
App/Site Packages
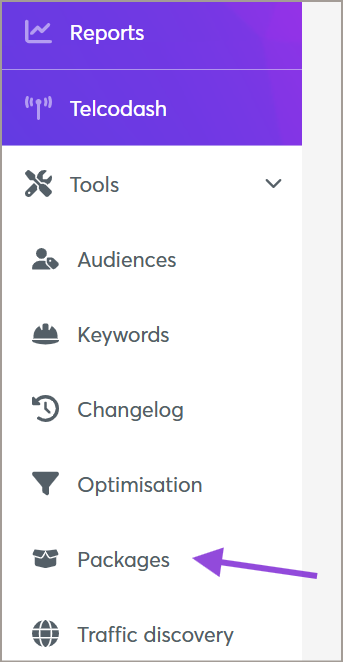
Step 1: Accessing the Packages Feature
-
Log in to your Eskimi DSP account.
-
Navigate to the Tools dropdown menu.
-
Click on Packages to access the package management page.

Step 2: Creating a New App/Site Package
You can create an App/Site Package in two ways: manually selecting apps and sites or by uploading a prepared list.
Option 1: Manual Creation
VIDEO TUTORIAL: HOW TO CREATE A NEW APPS/SITES PACKAGE
-
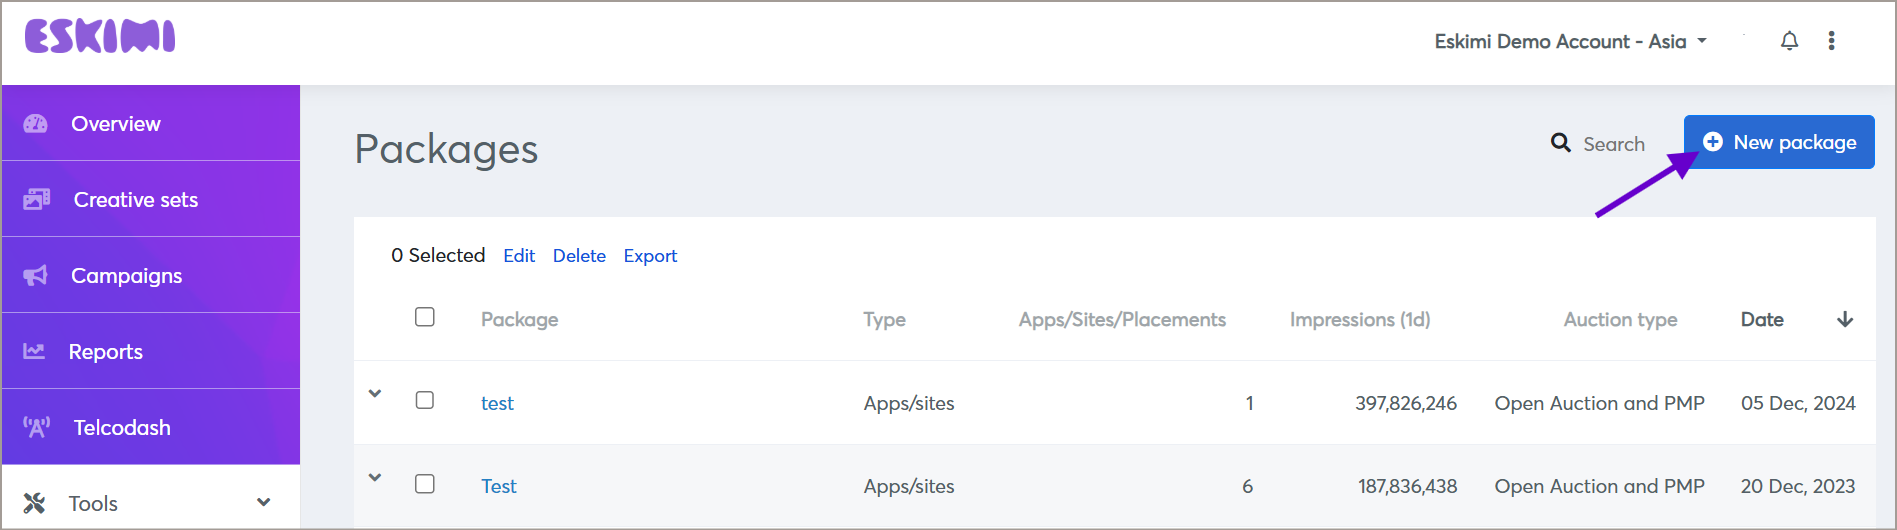
On the Packages page, click New Package to start creating a package.
-
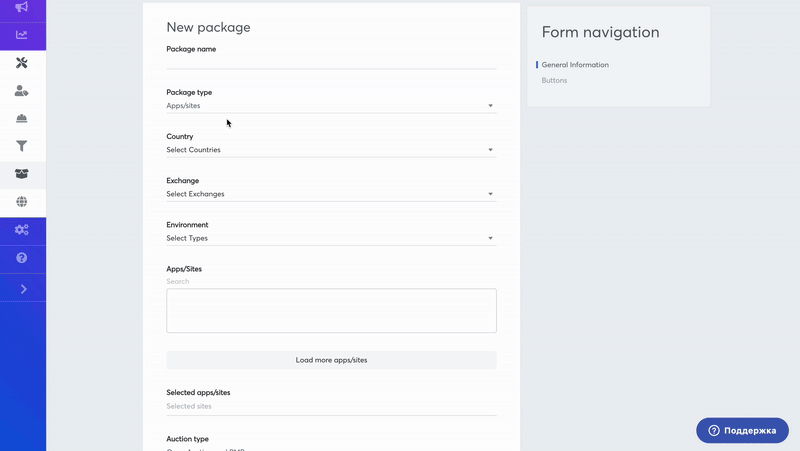
Fill in the required fields:
-
Package Name: Enter a descriptive name for your package.
-
Country: Select the country where the apps or websites will be sourced.
-
Exchanges: Choose which exchanges you want to include. If unsure, skip this step to allow the system to optimize across all available exchanges.
-
Environment: Specify whether you want to filter for Apps or Websites. After applying this field, the available apps and sites will appear in the Apps/Sites section.
-
Apps/Sites: Use the search function to select specific apps or websites to include in your package.
-
-
Once all details are entered, click Save to finalize your package.

Option 2: Uploading a Prepared List
Make sure apps/sites names do not contain special characters or paths.
Correct apps/site format: www.example.com
If you are unsure of the apps/sites names format, please save CSV as UTF-8
-
Instead of manually selecting apps/sites, prepare a list in .csv format.
-
Click Upload List and select your file.
-
The system will automatically populate the Apps/Sites section based on your list.
-
Click Save to finalize your package.
Step 3: Implementing Your Package in a Campaign
-
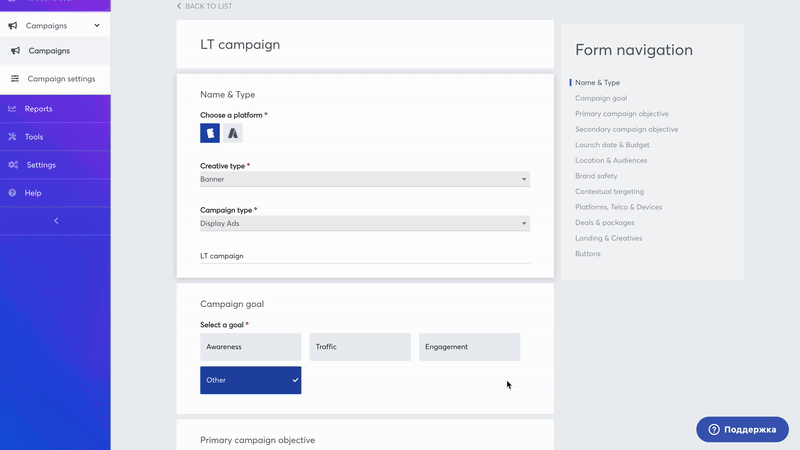
Access the Campaign Creation screen or select an existing campaign to edit.
-
Navigate to the Deals & Packages section.
-
Choose the newly created package and decide whether to include or exclude it from the campaign. Eskimi DSP offers additional customization options for packages, allowing advertisers to fine-tune their campaign settings. These options include:
-
Custom Bid: Set a specific bid value for the package.
-
Custom Daily Budget: Allocate a separate daily budget for the package.
-
Custom Total Budget: Define the total budget limit for the package.
-
Include Only: Ensure the campaign runs exclusively on the selected package.
-
Exclude: Prevent the campaign from running on the selected package.
-
Disable Impression Capping: Remove any limitations on the number of impressions per user.
-
Disable Auto Optimization: Stop the system from automatically adjusting campaign performance settings.
-
Disable Budget Pacing for This Package: Prevent budget distribution adjustments over time.
-
Disable App/Site Category Exclusion: Override default category exclusions and allow all listed apps/sites.
-
Allow Multiple Bids Per User Per Second: Enable multiple bids for the same user within one second.
-
Continue setting up the campaign as needed.
Placement Packages
Step 1: Accessing the Packages Feature
-
Log in to your Eskimi DSP account.
-
Navigate to the Tools dropdown menu.
-
Click on Packages to access the package management page.
Step 2: Creating a New Placement Package
You can create a Placement Package by uploading a prepared list of placement IDs.
Uploading a Placement List
-
On the Packages page, click New Package.
-
Select Package Type -> Placement.
-
Upload a list of Placement IDs (numeric values only; other values will be filtered out).
-
Assign the package to specific user(s).
-
Click Save to finalize your package.
Step 3: Implementing Your Placement Package in a Campaign
-
Access the Campaign Creation screen or select an existing campaign to edit.
-
Navigate to the Deals & Packages section.
-
Choose the newly created Placement Package and decide whether to include or exclude it from the campaign.
-
Continue setting up the campaign as needed.
Use Cases of Placement Packages
-
Reuse high-performing placements across multiple campaigns by choosing placement IDs of well-performing campaigns.
-
Start a campaign with a specific list of placements and optimize from there.
-
Utilize placement data from external trackers that meet required metrics.
Limitations
-
Other package functionalities are not supported for Placement Packages.
Conclusion
By following these steps, you can efficiently create and manage Packages within Eskimi DSP. Whether using App/Site Packages or Placement Packages, this feature allows for improved targeting, enhanced campaign control, and streamlined ad placement, ensuring better results for your digital advertising strategy.