Uploading Creatives
There are 3 types of ads that you can launch on your own using Eskimi DSP self-service:
BANNER ADS:
You can find the requirements for banner ads here: What are the most popular ad banner formats?
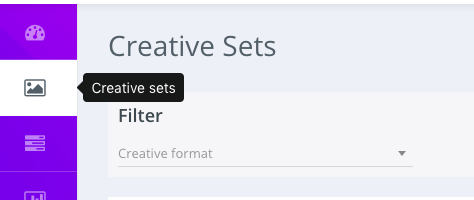
Step 1: Log in to your DSP account, go to Creative Sets, and on the new page click "Add creative set".
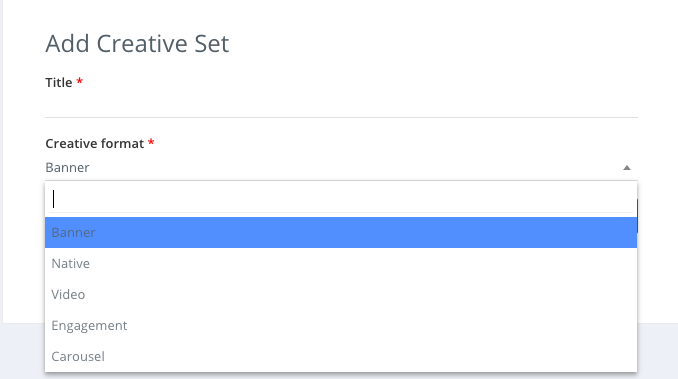
Step 2: On the next page indicate the creative sets Title and select the format.
First, choose the type of your banner:
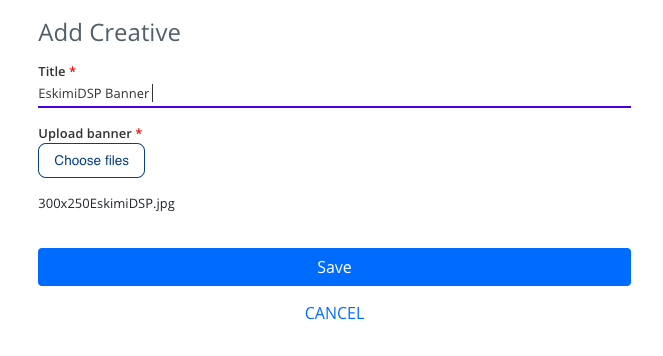
After selecting the desired creative format, click "Continue". And you will be greeted with the upload screen. Indicate the Title of the creative, and select the file you want to upload. After that click "Save".
VIDEO ADS:
You can find requirements for video ads here: Video ad formats
The same process applies and to video uploads.
Step 1: Log in to your DSP account, go to Creative Sets, and click "Add creative set".
Step 2: Select the type of your creative set as video and name it.
Step 3: Select the type of video video (VAST + IBV, VAST, IBV).
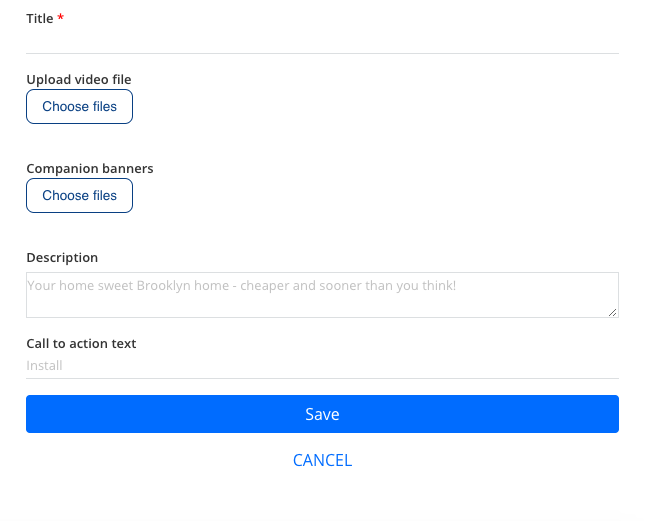
Step 4: After selecting the type. You will be greeted with the video upload page.
Step 4: Upload companion banners (this step is not necessary) Companion banners must contain at least one of the following sizes: 300x250 or 300x60.
Step 5: Write Call to action text. This text should be short and engaging, eg. Buy now. It will describe a call to action button for the destination URL.
Step 6: Save your video ad. The video dimensions might change after uploading in comparison with the original video because the system resizes the video based on the quality of the video and other factors. However, this doesn't have any impact on the performance of the campaigns.


